A leather sofa is a classic piece of furniture that can lend a sense of style to a room. One problem that many leather sofa owners discover, however, is that pillows tend to slip off leather easily. This can be extremely frustrating if you enjoy adding decorative throw pillows to your leather sofa. Luckily, some simple adaptations will make the pillows less likely to slip off your leather sofa.
- A leather sofa is a classic piece of furniture that can lend a sense of style to a room.
- Luckily, some simple adaptations will make the pillows less likely to slip off your leather sofa.
Purchase pillows that are made of non-slippery fabric. Pillows that are suede, velvet or coarse canvas are more likely to stay put on a leather sofa. If your sofa is dark leather, opt for pillows with lighter colours and patterns. If you have a light-coloured leather sofa, dark-coloured pillows usually make better accents.
Arrange sets of pillows instead of using single pillows. One pillow is more likely to slip than pillows stacked in sets that can help to support each other.
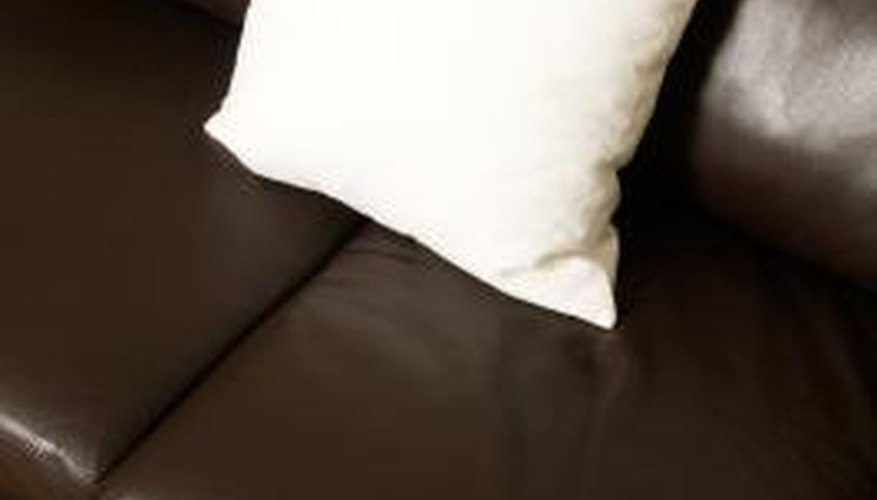
Prop up pillows next to the arms of the sofa for added support.
Sew accents such ribbons or buttons onto your pillows, or buy pillows with such accents. Decorative accents that stick out from the pillows can help to stop the pillows from sliding.