The art of paper folding, origami, is a Japanese tradition that has been passed down for hundreds of years. Its popularity comes from the fact that anyone can do it. All you need is a single piece of paper. One of the most popular places to start is by creating a palm tree. To give it an extra little bonus, many people choose to create the palm tree by using a dollar bill in place of a piece of paper.
- The art of paper folding, origami, is a Japanese tradition that has been passed down for hundreds of years.
- To give it an extra little bonus, many people choose to create the palm tree by using a dollar bill in place of a piece of paper.
Cut the dollar bill in half. This will give you two pieces of paper that are almost complete squares.
Fold one of the pieces of the bill in half across the middle.
Fold the same piece again across the middle so that the width is now a fourth of the original piece. However, instead of keeping the fold in place, unfold it to allow for a crease to exist.
- Fold one of the pieces of the bill in half across the middle.
- Fold the same piece again across the middle so that the width is now a fourth of the original piece.
Unfold the paper so that it is like the piece of paper after Step 2 but with an added crease from Step 3. Fold either end of the paper toward the middle crease to create two more creases.
Ripple the tree trunk. To do this, lay the piece of paper so that it is folded in half but with a number of creases from the previous steps. From the bottom, fold a small section (about an eighth of the paper's height) under the rest of the paper. From the newlycreated crease, make a smaller fold in the opposite direction to create a rippling effect on the trunk. Continue performing these folds all the way up the trunk.
- Create a circular trunk by folding the paper along the creases formed in Step 4.
- Make a fold on the piece of paper so that the creases on either diagonal go up rather than down.
- (
Create a circular trunk by folding the paper along the creases formed in Step 4. Stand up the trunk.
Fold the other piece of the dollar bill in half across the vertical and then across the horizontal. Unfold the piece of paper and fold it across the two diagonals. Unfold it in order to have a piece of paper with four creases on it.
Make a fold on the piece of paper so that the creases on either diagonal go up rather than down. (This is called a "mountain fold.") Now make a fold across the vertical and horizontal creases so that the crease goes down. (This is called a "valley fold.")
- Create a circular trunk by folding the paper along the creases formed in Step 4.
- Make a fold on the piece of paper so that the creases on either diagonal go up rather than down.
- (
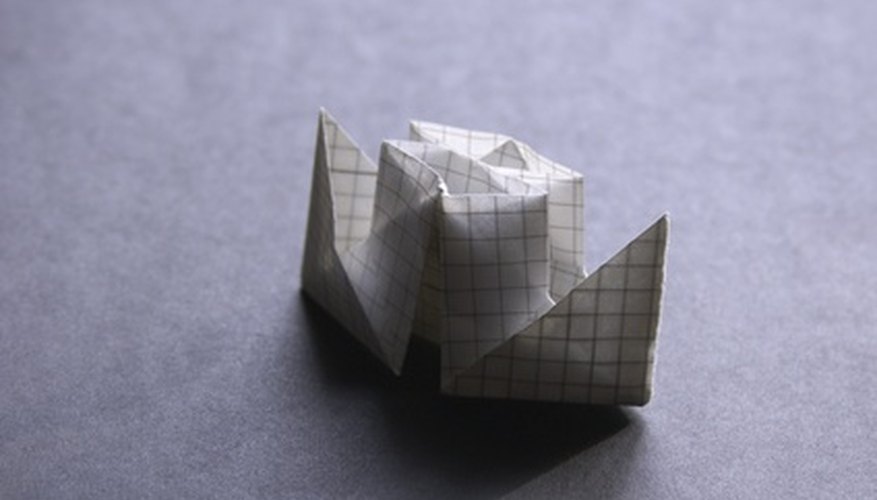
Follow the creases you just made (with some going up and some creasing downward) to create a flowerlike piece of paper. This is the basic shape of your palm leaves.
- Create a circular trunk by folding the paper along the creases formed in Step 4.
- Make a fold on the piece of paper so that the creases on either diagonal go up rather than down.
- (
Fold the ends of your piece of paper toward the middle to create creases. Unfold those creases and begin folding each "flower petal" downward in order to create the overhand look of the palm tree leaves.
Make smaller folds on the bottom of the "flower" in order to tighten the stem of the piece of paper. When satisfied, place the stem into the tree trunk created in Section 1.
TIP
Select the crispest dollar bill you have. This is important because the paper has to have a stiff quality to it to hold the creases.