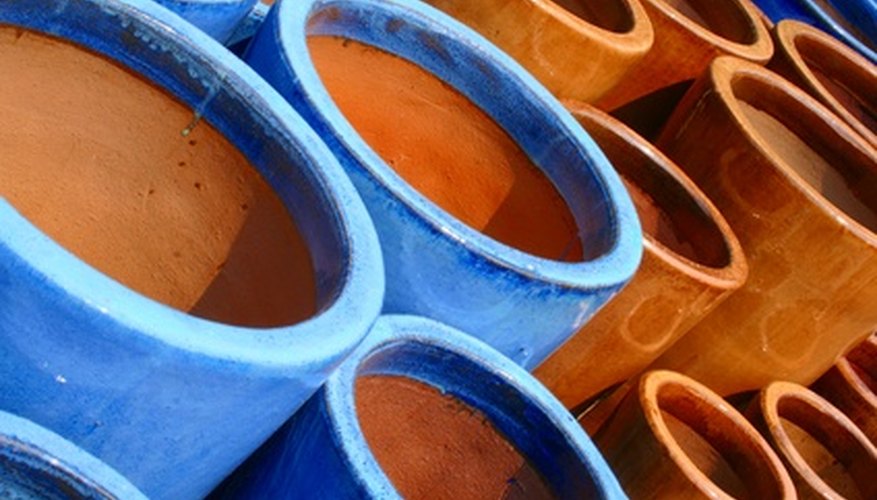
Garden pot men are creative and artistic ways to liven up a garden and create unique little characteristics to make your garden stand out from the others in the neighbourhood. In addition to adding a touching element of fantastic whimsy, garden pot men are cheaper to make than purchasing concrete lawn statues and are also a welcome change from the traditional gnome statues. Use different types of pots and heavy gauge wiring to pose your pot man and make him stand out from all the other garden statues.
- Garden pot men are creative and artistic ways to liven up a garden and create unique little characteristics to make your garden stand out from the others in the neighbourhood.
- Use different types of pots and heavy gauge wiring to pose your pot man and make him stand out from all the other garden statues.
Measure the rope or wire for your pot man's arms and legs. You should have at least three times the length needed for his arms and legs. You will be knotting the rope and wire before and after each pot.
Cut the rope. You will need four long pieces for arms and legs and a short piece to connect the torso. You may also wish to use nuts and bolts to secure the torso pots and head pot.
Turn one large pot upside down. Thread the wire or rope through the brace plate or large washer and knot the wire or rope. Pull the wire through the drain hole in the bottom of the pot until the washer or plate is pressed firmly against the pot.
Feed the wire or rope through the bottom of the second large pot and brace plate. Pull on the wire to keep the two pots together while you twist the wire or knot the rope. If left upside down, this second large pot finishes the torso design. If you wish this to be the head for a childlike statue, use a smaller pot and turn it right side up.
- Turn one large pot upside down.
- Pull on the wire to keep the two pots together while you twist the wire or knot the rope.
Drill a hole into the top side of one of the large pots. This will be the location for your pot man's arms and can be as high or low as you like. Thread the rope through the hole and knot the rope inside the large pot.
Feed the wire or rope through the drain hole of one small pot. Keep the pot tight against the large pots or leave a small space to move and pose the pot man. Knot the wire or rope tightly against the inside of the small pot.
- Drill a hole into the top side of one of the large pots.
- Feed the wire or rope through the drain hole of one small pot.
Thread another small pot until it is the desired distance away from the first pot. Mark the rope or wire with a permanent marker. Remove the pot and knot the rope. Replace the small pot and tie and knot inside the pot.
Continue threading small pots in this manner until you have strung up one arm. Repeat the process for the arm on the other side. You will use the same threading technique to create legs for your pot man.
Thread the top leg pot and either nail the knot directly to the pot man's seat to move his leg according to your design or drill a hole through the bottom side of the torso pot and attach the legs the same way you did the arms.
TIP
Drill carefully to avoid breaking the clay pot. You may wish to purchase orchid pots, which have drain holes on the sides. Fill the gaps between the terra cotta pots with moss or climbing vine and decorate as you wish. If you have a planter opening in the top head pot, plant hairlike grasses or flowers for effect.