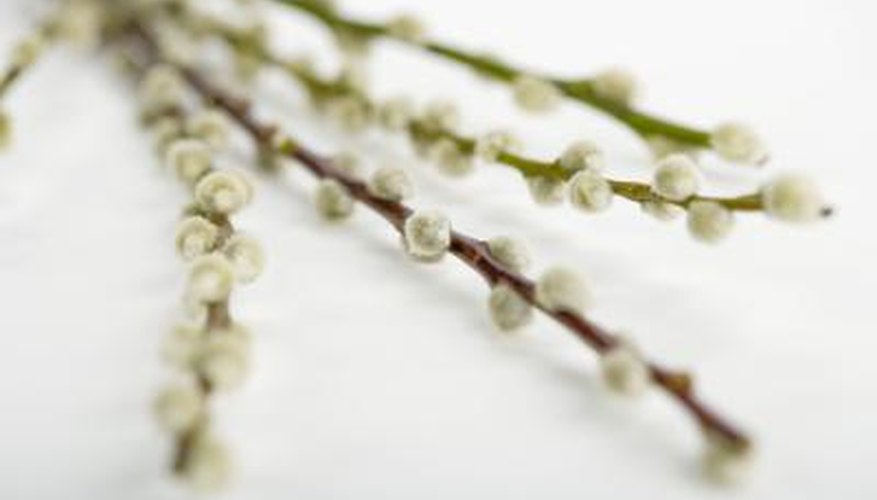
In magical practices, a willow branch broom is called a besom. Traditionally representing the element fire, the besom also represents both man and woman with its phallic handle and flaring, often rounded, base. Whether you're raising your children in pagan traditions or teaching them about other cultures, creating a miniature besom works well as a starting point. After making the brooms, you can show the kids how pagans would traditionally use them to attempt to cleanse the energies around them.
- In magical practices, a willow branch broom is called a besom.
- Whether you're raising your children in pagan traditions or teaching them about other cultures, creating a miniature besom works well as a starting point.
Let your child pour warm water into a small plastic container just long and deep enough to accept your willow branches. Give her a tablespoon and let her measure out one spoonful of salt into the water. Let her stir the water until the salt dissolves.
Ask your child to place the branches in the water, helping her arrange them so they're in a neat pile. Let them soak for about 20 minutes. Explain that the saltwater helps soften the branches and makes them pliable for both big and small fingers.
Cut four 12-inch lengths of coloured embroidery thread. Since the besom represents fire, red is traditional. You may also use your favourite colour or several different colours of thread, allowing your child to help pick out the colours.
Ask your child to remove the willow twigs from the water and help her pat them dry with paper towels. Help her bundle them tightly together into one of her hands.
- Ask your child to place the branches in the water, helping her arrange them so they're in a neat pile.
- Ask your child to remove the willow twigs from the water and help her pat them dry with paper towels.
Wrap the first piece of embroidery thread around the twigs about 1 inch from the ends. Tie off the embroidery thread and snip away any excess. The thread must be very tight.
Wrap the other three pieces of thread around the twigs, spacing them 1 inch from each other. When finished, you should have a tightly bundled handle and an unbundled portion 2 to 4 inches long.
- Wrap the first piece of embroidery thread around the twigs about 1 inch from the ends.
- Wrap the other three pieces of thread around the twigs, spacing them 1 inch from each other.
Help your child push the unbundled end of the besom down on a flat surface gently to splay out the broom bristles. Remind her to push gently so she doesn't break any bristles. She may then tug and pull the splayed twigs to make the besom flare more.
Let the besom dry for a week. You may hang it with an extra piece of embroidery floss or lay it flat in a cool, dry place.