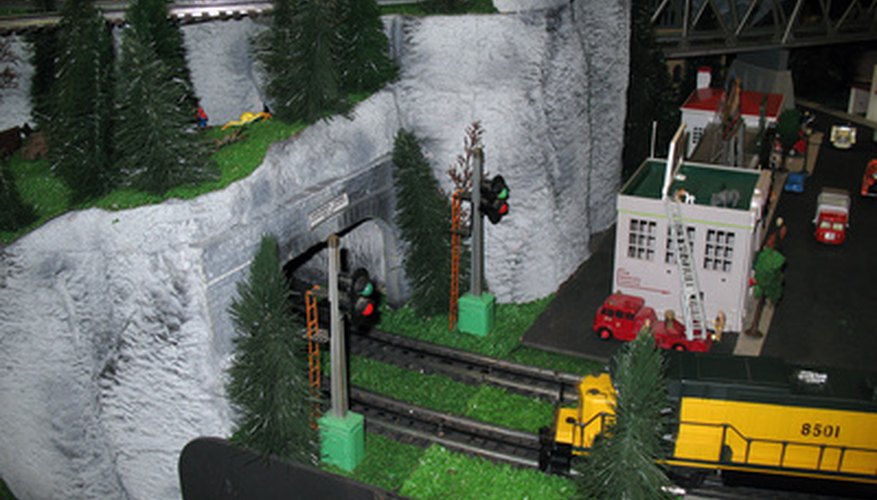
The Peco turntable is a popular feature of model railroads. It features a movable bridge and tracks over a pita lifelike part that transports engines from one train track to another. Painting a Peco turntable, like painting any other portion of your model railroad, requires patience and an eye for detail. Using a reference photograph of a real railroad turntable is often the best way to get the weathering details that you want.
- The Peco turntable is a popular feature of model railroads.
- Using a reference photograph of a real railroad turntable is often the best way to get the weathering details that you want.
Disassemble the Peco turntable if you have already built it. Disconnect it from its connecting tracks, and lay the pieces out on a clean, protected surface.
Wash all the turntable parts with soap and water. Use the air duster to clean any difficult to reach places where dust may have collected. Allow the pieces to air dry.
Paint a base colour on the walls and pit of the turntable, according to your reference photograph. The walls and pit are usually made of concrete, so a medium grey could be used as a base. Don't be afraid to mix colours to achieve the perfect shade. Allow the base to dry before painting the details.
- Paint a base colour on the walls and pit of the turntable, according to your reference photograph.
Paint the tracks a dark grey or black colour using a very fine model brush. Allow the tracks to dry.
Create a weathered effect on the walls and pit by painting in dark grey cracks and dirt with a small model brush or a very fine tip permanent marker. Allow these additions to dry.
Add a rusted effect to the tracks and the surrounding metal areas by painting small patches of orange and red.
Mix your dark grey paint with distilled water in a two-to-one ratio. Apply this to the walls and pit of the Peco turntable. This wash will create a textured, weathered look.
Allow all pieces to dry for at least 24 hours before assembling them and adding them to your model railroad track.