Every branch of the armed forces has occasion to wear a shirt with military creases, and the practice is followed also by uniformed police, paramilitary units, and dozens of other groups who aspire to a military appearance. Most professionals in laundry and dry cleaning businesses know how to make military creases, but it can be done less expensively almost anywhere with some experience and proper equipment.
Lay the shirt on the ironing board to look for the locations of the creases. There are five creases in the standard form: three in the back and two in the front. One of the creases in the back is the exact centre of the back, and the other two are equidistant from the centre to the armholes. In front, the creases march down the front of the shirt in line with the pocket buttons from the shoulder seam to the hem. The sleeves are ironed flat with the crease on the fold on top.
- Every branch of the armed forces has occasion to wear a shirt with military creases, and the practice is followed also by uniformed police, paramilitary units, and dozens of other groups who aspire to a military appearance.
- One of the creases in the back is the exact centre of the back, and the other two are equidistant from the centre to the armholes.
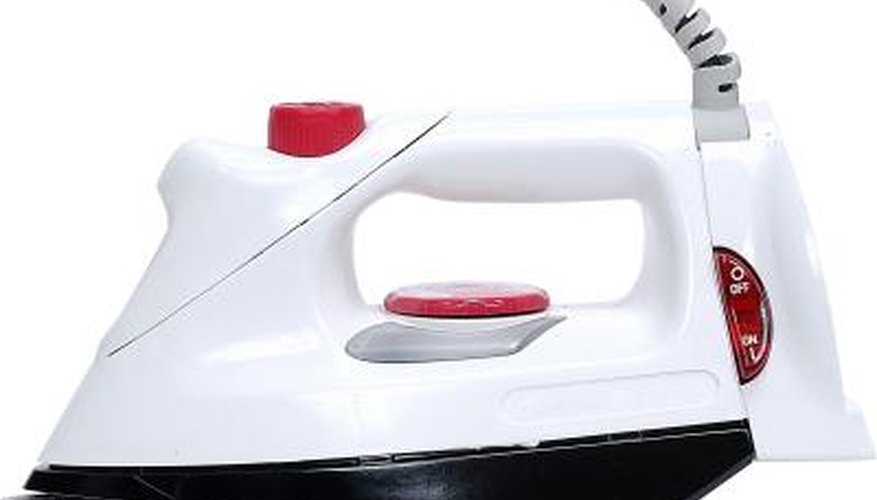
Fill the steam iron with water. After setting it on the ironing board, adjust the temperature to a steam setting appropriate for the fabric of the shirt. l00 per cent cotton will take high temperatures; synthetics will require lower temperatures. Set the can of spray starch nearby and have a smooth piece of cotton fabric, such as a piece of an old sheet, nearby also.
- Fill the steam iron with water.
- Set the can of spray starch nearby and have a smooth piece of cotton fabric, such as a piece of an old sheet, nearby also.
Iron the yoke and the collar of the shirt before beginning the creases, if the shirt has a yoke. A yoke is a horizontal piece that forms the top of the back. It extends from shoulder seam to shoulder seam and is not creased with the rest of the back of the shirt. Some military uniforms do not have yokes, and in that case, proceed without this step. Starch and iron the collar, stretching it horizontally, so that it will stand upright during the rest of the ironing.
Pick up the shirt by the back, finding the centre of the back by folding the shirt so that the side seams align. This will be the first crease, and it must be absolutely vertical. Press down on this fold, spray it with starch, steam it and iron it dry. If the shirt is white or tends to become shiny, protect it with the cotton cloth, just in case of discoloration from the heat.
- Pick up the shirt by the back, finding the centre of the back by folding the shirt so that the side seams align.
Divide the distance between the centre crease and the armholes to find the location of the next crease. This can be done by holding the shirt up by the tail and the yoke, making the side seam align with the centre crease. Press this fold exactly parallel to the centre crease. Follow pressing that crease by doing the same on the other side of the back of the shirt. The back of the shirt is now completely ironed.
Fold the front of the shirt from the seam at the shoulder to the hem directly through the buttonhole on the pocket. Be very sure the fold is vertical. Press the fold as before, using plenty of steam and starch if necessary. Pay special attention to the pocket so that it has no creases or dimples when finished. The second front crease is accomplished the same way. The shirt is now ironed except for the buttons and buttonholes and the sleeves.
Iron the front, pressing hard on the buttonhole area and pressing between the buttons all the way to the edge of the shirt. Iron the sleeves flat, pressing the crease into the top as sharply as the rest of the creases. Touch up any areas that seem unsatisfactory, being careful not to iron over any of the creases.
- Fold the front of the shirt from the seam at the shoulder to the hem directly through the buttonhole on the pocket.
- Iron the sleeves flat, pressing the crease into the top as sharply as the rest of the creases.
Iron the trousers creases by holding a leg by its hem and matching the side seams. The fold in both front and back of the leg should be pressed until it is sharply creased. Proceed to iron the other leg the same way. Finish by pressing both legs flat, seams and creases aligned perfectly.
TIP
A Navy enlisted jumper uniform top, either white or blue, is always ironed wrong side out. It is creased similarly, but the creases are turned inward except for the collar.
WARNING
Ironing of this kind is hard work. The creases will not be up to professional standards without considerable pressure on the iron and a somewhat extended period of time. Ironing a shirt with military creases could easily take 15 minutes even for an experienced ironer or close to 30 for a beginner. The process will become much easier with practice.