Military uniforms, when properly displayed and worn, are known for their wrinkle-free appearance and crispness. Regardless of the branch, military regulations require high standards for uniform wear to show discipline and detail. Some military members rely on professional services to iron their shirts, while others iron their own. For non-military members who want to emulate such standards, it is possible to iron a shirt military-style by using home pressing techniques.
- Military uniforms, when properly displayed and worn, are known for their wrinkle-free appearance and crispness.
- Regardless of the branch, military regulations require high standards for uniform wear to show discipline and detail.
Check your shirt pockets for any objects and debris like paper, pens, etc. These could interfere with getting an even press. Also check for wear and tear such as rips, holes and loose threads.
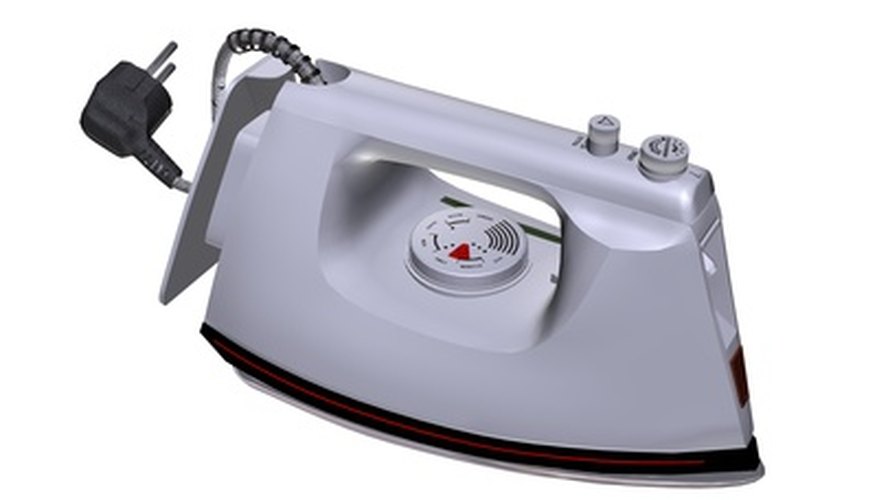
Set your ironing board to waist-high level. Make sure you have a resting place for your iron. Set the iron to medium-high heat and ensure the steam function is properly working. If your iron doesn't have a steam function, have a water-filled spray bottle handy.
Spray starch lightly on the entire shirt. Give a little extra spray on the collars and cuffs. Toss it in the dryer on low heat for 10 minutes. If you don't have a dryer, hang the shirt for at least 20 minutes, allowing the starch to set in.
- Set your ironing board to waist-high level.
- If you don't have a dryer, hang the shirt for at least 20 minutes, allowing the starch to set in.
Unbutton the cuffs. Iron the collars and cuffs first, using a slow and steady stroke. Be careful not to leave the iron on one spot too long or you'll create a burn mark.
Press the sleeves on both sides of each sleeve. Start from the top of the shoulder and down to the cuff, pulling taut on the cuff to help keep wrinkles out.
- Iron the collars and cuffs first, using a slow and steady stroke.
- Start from the top of the shoulder and down to the cuff, pulling taut on the cuff to help keep wrinkles out.
Create a sleeve crease by folding the sleeve at the centre line between the front and back of the shirt. Pull tight on the cuff and apply the outer edge of the iron alongside that crease from the shoulder down. For extra crispness, spray starch on the crease just before you iron it.
Iron the shirt front, paying special attention to pockets and any name tapes. Ensure the shirt is unbuttoned before ironing.
Iron the back of the shirt. Then create military creases by folding the shirt in half and ironing a crease in the same manner as Step 6 by pulling tight on the shirt bottom as you press. Once the middle crease is created, iron two other creases equidistant from it.