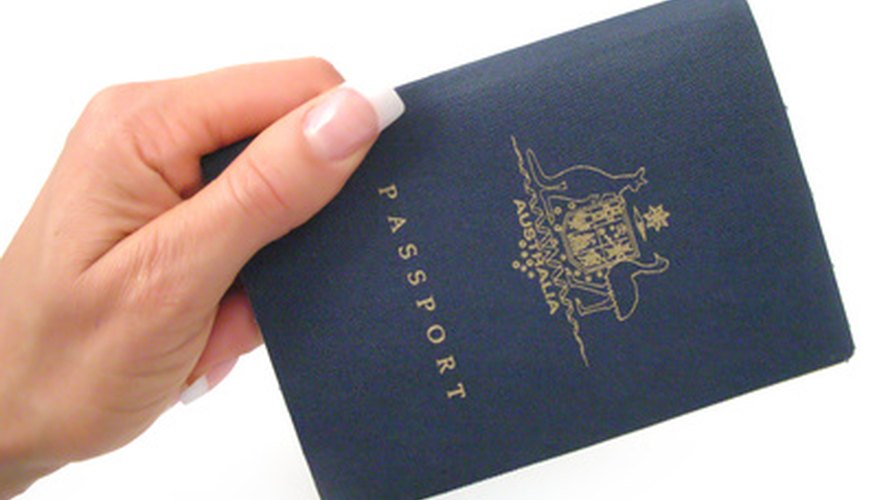
If you are travelling in a foreign country, you will need a passport to travel. A passport is an official document issued by a traveller's home government that certifies your identity and nationality. In addition to listing a person's vitals, a passport will also contain a photo of the passport holder. Each country that issues a passport has different standards for the passport photo. Although you can take your own photo for a passport, the photo must meet passport requirements. You can edit a photo so that it matches these requirements using Windows Photo Gallery.
- If you are travelling in a foreign country, you will need a passport to travel.
- In addition to listing a person's vitals, a passport will also contain a photo of the passport holder.
Learn the passport requirements for the country issuing your passport. Requirements differ from country to country. For example, United States passports must be 51mm by 51mm (2inch by 2inch). The photo must be evenly-lit with no shadows on a white background and the subject must be facing forward. The camera should be placed at the subject's eye level and the subject's face must measure between 25mm and 35mm (about 1 inch) from the top of the hair to the lower chin in the print.
Set up your photography studio to achieve the passport requirements. A simple set-up may include a plain white wall, a flash behind the subject and a flash on your camera. A more complex set-up may include a studio with a white background, a flash behind the subject to eliminate shadows and two studio flashes placed to the left and right of the subject at 45 degree angles 1.2m (4ft) away from the subject.
Compose the subject in the viewscreen of your camera. Although most view screens are rectangular, you will need to compose your subject so that you can crop your photo into a perfect square and enlarge the subject into the correct size.
- Set up your photography studio to achieve the passport requirements.
- Although most view screens are rectangular, you will need to compose your subject so that you can crop your photo into a perfect square and enlarge the subject into the correct size.
Import the photo into your computer by connecting your camera to your computer through the USB system using a network cable. The computer will recognise the camera as a peripheral device. The computer files will appear stored on your camera as photographic files, probably .jpg. You can copy the photographic file containing your passport photo to your computer by opening the camera's files in your computer, selecting the correct file with your mouse and dragging it onto your desktop.
Open the photo with Windows Photo Gallery by right clicking on the photos icon with your mouse. The computer will open a menu that contains an "open with" option. Hold your mouse over this. A second menu will appear with Windows Photo Gallery. Select this option by holding your mouse over Windows Photo Gallery and clicking on it.
- Open the photo with Windows Photo Gallery by right clicking on the photos icon with your mouse.
- Select this option by holding your mouse over Windows Photo Gallery and clicking on it.
Click on the "crop a picture option" to crop the photo. Click on the "custom" button to set the photo's size to 51mm by 51mm (2inch by 2inch) square. Hold down the "shift" key and place your mouse pointer over the point where you want the corner of the photo to be. Drag your mouse across the photo until the crop lines are in the correct place. By holding down the "shift" key, you keep the cropped photo proportional.
Shift the crop lines up, down or to the side to centre the subject in the correct place by moving your mouse cursor to the centre of the photo and holding down the mouse key. Holding down the key grasps the photo so that you can move it without changing the photo's size.
Click "apply" to crop the photo. Then place photographic paper into your printer and select "print" to print the photo. To print a second photo, place a second page of paper into your printer and print again.