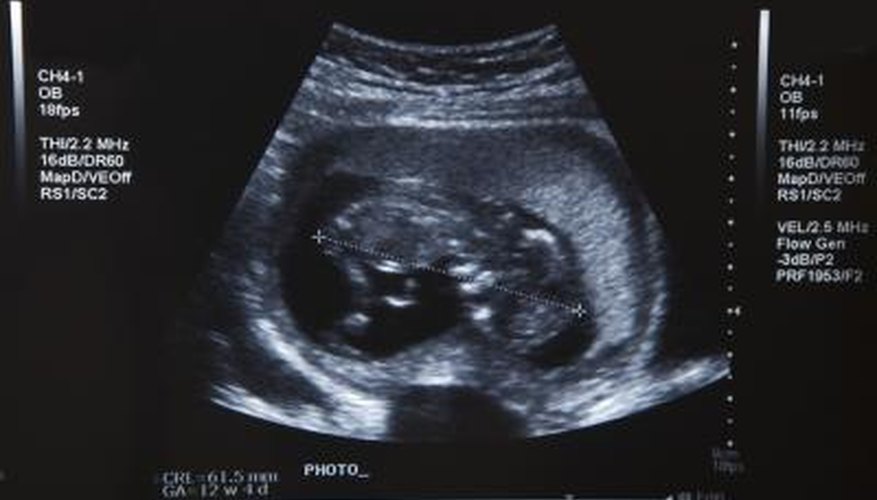
Ultrasounds are the first, amazing pictures parents see of their growing baby. Preserving these ultrasound pictures is important to prevent damage over time. Ultrasound pictures are typically printed on thin paper that may fade or tear if not preserved correctly. Framing the print alone does not protect it from water, wind or dust.
Place the ultrasound photo on one clear, hard plastic sheet. Trace the shape of the photo with a pencil.
Cut out the photo outline from the clear, plastic sheet. Use the first sheet of hard plastic as a template to trace a second outline on a new sheet.
- Ultrasounds are the first, amazing pictures parents see of their growing baby.
- Use the first sheet of hard plastic as a template to trace a second outline on a new sheet.
Place a plastic cutout on the adhesive side of the laminating sheet. Repeat with a second laminating sheet and the other cutout. Positioning the hard, plastic sheets on the adhesive first makes centring them easier later on.
Position the adhesive side up on the laminating sheet, and place the ultrasound photo on the hard plastic piece that is not adhesive. Center the second laminating sheet over the first with the hard plastic piece directly over the photo. Try to align only the adhesive-free pieces with the photo.
Press the two laminating sheets together gently, and seal and work out bubbles between the two sheets with a ruler. Roll the laminate onto the plastic pieces covering the photo with great care. If you roll off centre, the adhesive will come in contact with the photo and could damage it.
- Place a plastic cutout on the adhesive side of the laminating sheet.
- Roll the laminate onto the plastic pieces covering the photo with great care.
Trim the laminating sheet, leaving 1/2 inch around the photo. This sealed border keeps the ultrasound photo free from dirt, dust and water damage.
- Trim the laminating sheet, leaving 1/2 inch around the photo.
Frame the protected ultrasound photo.
Laminate with pouches by repeating Steps 1 and 2 as described above. Instead of placing hard plastic on laminating sheets, sandwich the ultrasound photo between them.
Slide the ultrasound picture and protective plastic into the laminating pouch.
Seal with a cold laminating machine. Specialised pouches and sheets are sold for cold laminating machines. Cold lamination preserves an ultrasound photo without damaging the paper or ink.
TIP
Using the clear, plastic sheets will allow you to remove the photo from the laminate without damage.
WARNING
Never place an ultrasound photo directly on laminating paper. Removal is impossible without damage. Some pouches require a machine to heat and seal the plastic while others only need an iron. These may turn the ultrasound photo brown and should not be used to preserve ultrasound pictures.