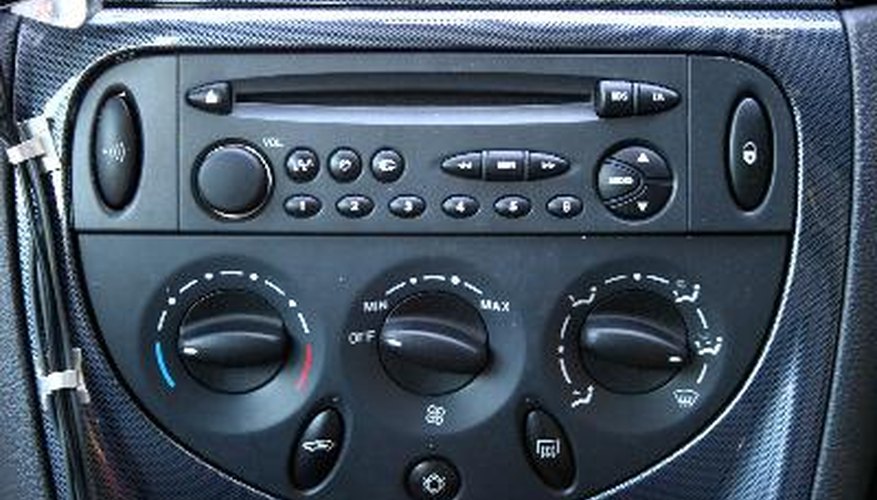
Aftermarket car stereos constantly are being updated to contain the latest features. With driver safety being a paramount concern, the ease of being able to operate the stereo in the car is important. Infrared (IR) remote controls are provided with a number of aftermarket stereos from top manufacturers to enable the driver or passengers to operate the head unit from farther away. Installing the radio is a simple procedure.
- Aftermarket car stereos constantly are being updated to contain the latest features.
- With driver safety being a paramount concern, the ease of being able to operate the stereo in the car is important.
Pop the vehicle bonnet. Remove the negative cable from the car battery terminal with an adjustable wrench.
Connect the wire harness of the car, which contains the power, ground and speaker wires, to the radio. Use a wire harness adaptor specific to the vehicle to connect the new radio.
Connect the radio antenna to the new radio. Connect the thick black radio antenna cable coming from the dashboard to the designated radio antenna port on the left side of the rear of the radio.
Insert the radio into the dashboard housing. Some dashboard housings will need to be adapted to ensure that the aftermarket stereo can fit. Take care not to trap the wiring. Push the radio in fully and reassemble any parts of the dashboard that have been removed. Take care that no part of the dashboard covers the infrared receiver on the front of the radio.
- Connect the radio antenna to the new radio.
- Insert the radio into the dashboard housing.
Reconnect the vehicle battery. Turn on the radio.
TIP
The infrared remote only works when pointed at the stereo, with a direct line of sight.