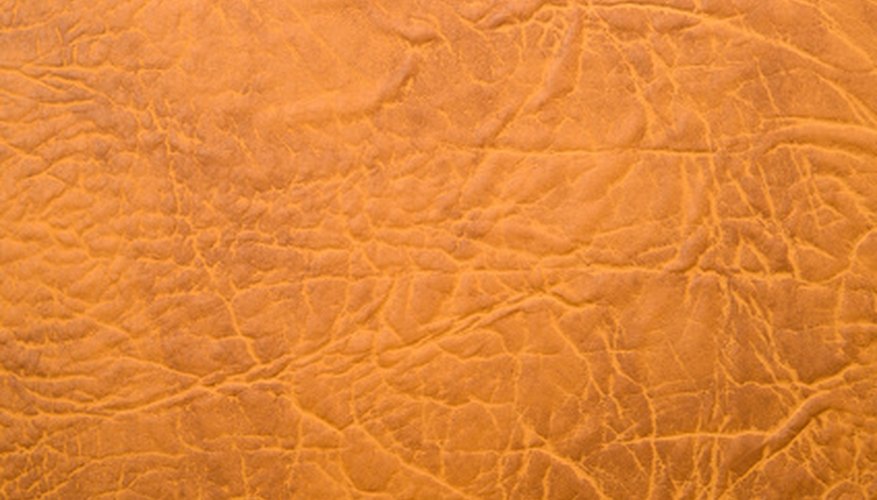
Instead of hunting for a swatch of shiny leather and going through the process of scanning it in, create your own leather texture through the use of Photoshop's many filters. Once you have created your leather texture, you can manipulate the colour, size and grain of the texture anytime you wish without the hassle of finding multiple swatches of leather.
Select the File menu from the top of the workspace and choose New. In the dialogue box that appears, enter the size parameters as 1000 px x 1000 px.
- Instead of hunting for a swatch of shiny leather and going through the process of scanning it in, create your own leather texture through the use of Photoshop's many filters.
- In the dialogue box that appears, enter the size parameters as 1000 px x 1000 px.
Set foreground colour to light brown and background to dark brown by clicking within the colour squares of the colour indicator located at the bottom of the toolbar on the left-hand side of the workspace.
Apply a cloud render by navigating to the Filter menu at the top of the workspace and choosing Filter > Render > Clouds.
Navigate to the Filter menu once again and choose Texture > Texturizer. Set the texture to "Sandstone." Set scaling to 200% and relief to 6%. Under the light heading, choose "Top Right" and click the checkmark box next to invert. Click "OK" once you have set the parameters for your texture.
Select the Filter menu and choose Artistic > Plastic wrap. Set highlight strength to 8 and detail to 9. Set smoothness at 6. Click "OK."
Click the File menu at the top of the workspace and choose "Save As." In the dialogue box that appears, enter an appropriate name for your leather texture and hit "Save."
TIP
By switching the colours in your foreground and background while creating your texture, you can create leather of any colour.