To ensure that your Oldsmobile Alero complies with state regulations that dictate the correct angle for headlights and to optimize your nighttime visibility, you need to adjust the aim of your headlights at least once every 12 months. You should also adjust the headlights any time you change a headlamp bulb or do front-end body work.
Park your Oldsmobile Alero 5 feet from a wall that's at least 6 feet high by 12 feet long. You should be on a level surface. Bounce the bumper to settle the suspension.
Imitate your normal driving conditions. You want proper air pressure in your tires and at least a half-full tank of gas. You can also add 6 1/2 lbs. of weight to compensate for each missing gallon until you reach half a tank.
- To ensure that your Oldsmobile Alero complies with state regulations that dictate the correct angle for headlights and to optimize your nighttime visibility, you need to adjust the aim of your headlights at least once every 12 months.
- of weight to compensate for each missing gallon until you reach half a tank.
Remove any cargo or extra weight you don't carry on a normal basis.
Have a friend with a similar physique sit in the driver's seat during the adjustment.
Turn on your low beam headlights. They should shine on the wall.
Find the center of the headlights and mark it on the wall for each headlight using a piece of masking tape.
- Remove any cargo or extra weight you don't carry on a normal basis.
- Find the center of the headlights and mark it on the wall for each headlight using a piece of masking tape.
Back up your Oldsmobile Alero to a distance of 25 feet from the wall. This should be about three car lengths from the wall.
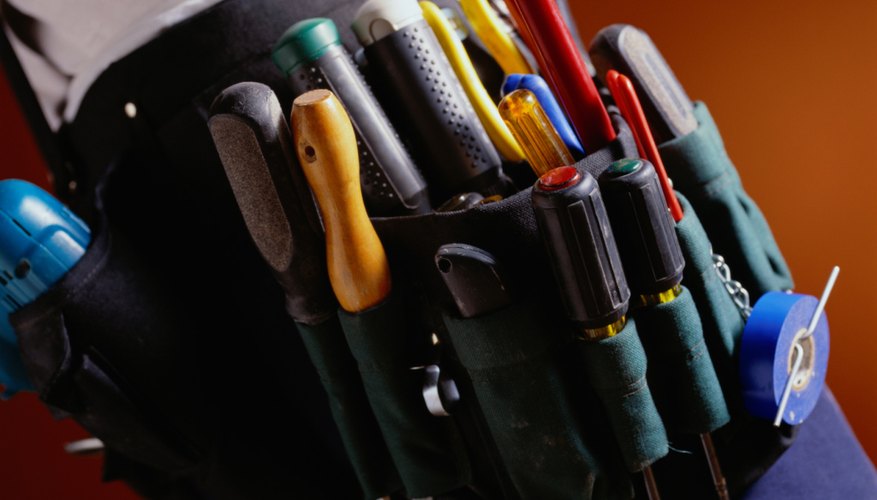
Check under the hood on top of the headlight assembly to find the adjustment screws for sealed beam units. Composite headlights only have adjustment screws when the headlights mount to an adjuster plate. In this case, you'll typically find the adjustment screws on the headlamp module.
- Check under the hood on top of the headlight assembly to find the adjustment screws for sealed beam units.
- In this case, you'll typically find the adjustment screws on the headlamp module.
Twist the adjustment screws with a screwdriver. You need to adjust each headlight separately.
Keep an eye on the marks on the wall. Stop when the headlights on your car hit the marks on the wall. Don't forget to check the aim of your bright lights.
TIP
Don't force the screws to twist. For difficult screws, apply a lubricant and wait a few minutes before you try again.