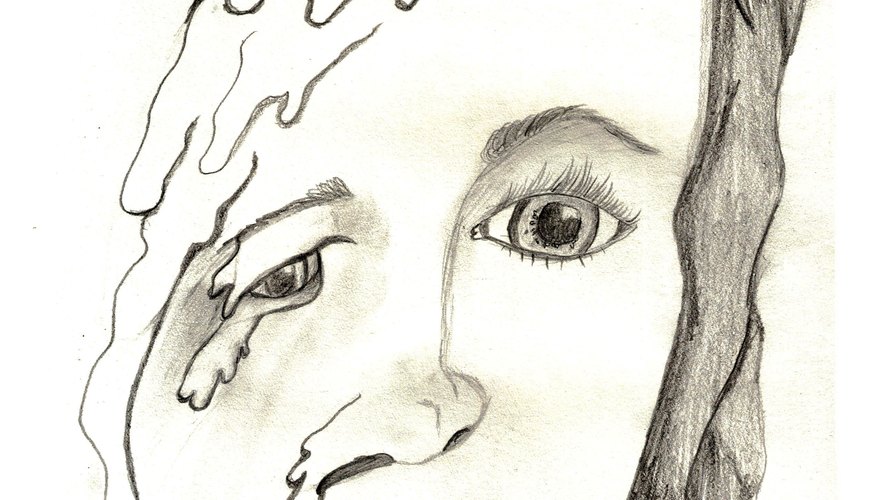
A melting face is done in many genres of art. It can be drawn for wounds in a comic book, to express emotion in a book illustration or can convey despair in a fine art drawing. Creating this effect is all a matter of exaggerating and lengthening normal features and employing shadow. These steps will show you how to create the wax look of melting skin and the unusual proportions.
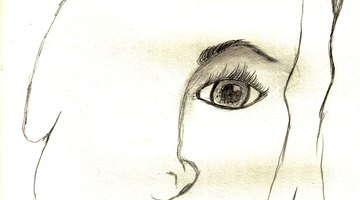
Draw one half of the face, as normal. If you find it hard to only draw one half, draw the whole face and erase half of it.
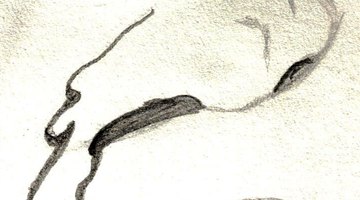
Draw the outline of the melted side of the face. The lines should be curved lines drooping downward, overlapping. Keep building the J-shaped lines until you have several sizes and layers. Shade the lower layers to be darker than the ones that should be closer to the viewer.
- A melting face is done in many genres of art.
- Keep building the J-shaped lines until you have several sizes and layers.
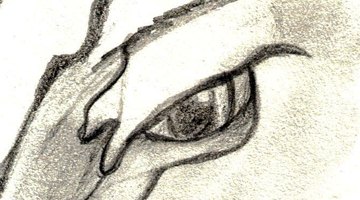
Draw the melting eyeball a quarter of an inch lower than the regular eye. Draw the ball of the eye, then draw curving lines around it that flow downward. These lines will look like connected "U" shapes.
- Draw the melting eyeball a quarter of an inch lower than the regular eye.
- Draw the ball of the eye, then draw curving lines around it that flow downward.
Draw the nostril on the melting side as a long oval that is dipping downward. Make sure that it is several times longer than the regular nostril. The side of the nose should be a series of C shapes joined together.
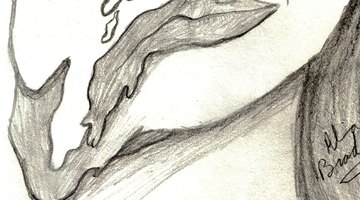
Draw the mouth like you did the nose. Make the lip lines several times longer than the non-melted side. Make the flesh melt into the chin for the best effect.
TIP
When drawing the melting skin, think of drawing elongated clouds. Shade around each piece of melting flesh for depth.