Adobe Photoshop provides many tools for creating interesting effects on your photographs. One that adds texture and detail is the "Halftone" filter. Early dot-matrix printers laid down a pattern of visible dots to create the printed output, and this effect creates a similar matrix of coloured dots on the original image. This can hide unwanted details and provide a dramatic alternative to a straight portrait.
Open a portrait image in Photoshop and duplicate the layer by clicking "Layer," then "Duplicate Layer." Name the layer "dot matrix" and click "OK" to complete.
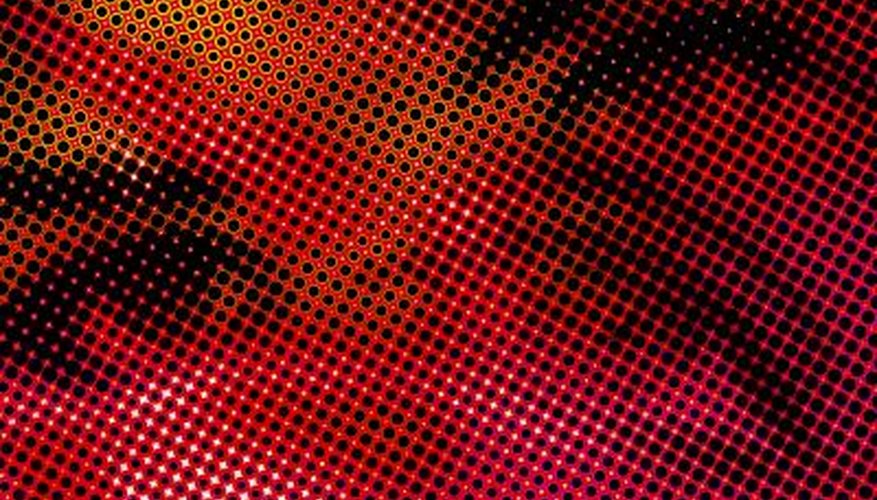
Select "Image," then "Adjustments," then "Black and White" and click "OK" to accept the default conversion to a grayscale image. Select "Filter," then "Pixelate" and "Color Halftone." Change the "Max. Radius" to "4 pixels" and click "OK" to apply the filter to create a black-and-white image with small coloured dots.
- Adobe Photoshop provides many tools for creating interesting effects on your photographs.
- Radius" to "4 pixels" and click "OK" to apply the filter to create a black-and-white image with small coloured dots.
Click the "Opacity" slider in the "Layers" panel and reduce the opacity of the "dot matrix" layer to about 30 per cent. This allows the colour of the original portrait to show through the dots and re-creates the slightly faded-colour dot-matrix effect on the photograph.
TIP
Set the "max radius" to a higher number to get larger dots in the image.
WARNING
Always save your image using "Save As" to avoid overwriting the original file.