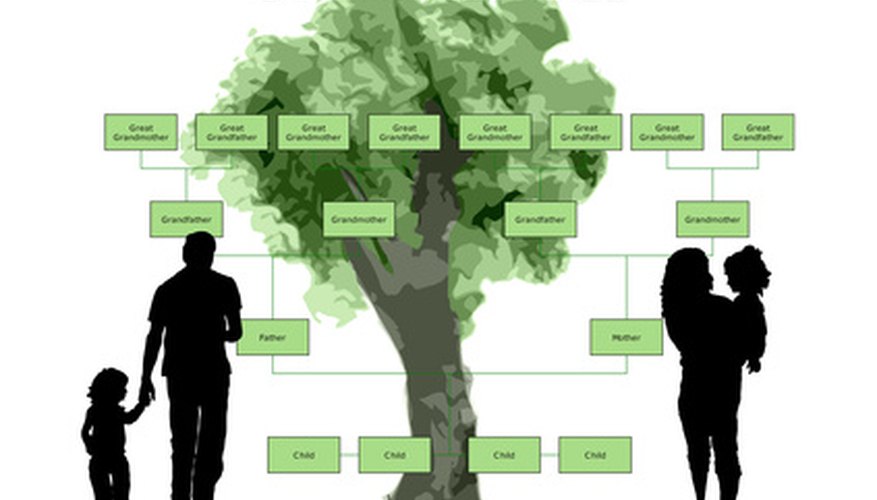
A genogram is an advanced version of a family tree. It not only displays names of family members, dates of birth and death and blood relationships, but can also show social and emotional relationships, hereditary illnesses and behaviours.
Genograms often are used is fields of medicine, psychology and genetics to interpret family patterns and history. If you want to make your own family genogram, you can create it using the computer drawing tools in Microsoft Word.
- A genogram is an advanced version of a family tree.
- If you want to make your own family genogram, you can create it using the computer drawing tools in Microsoft Word.
Draw on a piece of paper exactly what you want the genogram to look like and what information you want to include, such as the types of relationships between family members you want to highlight and other data pertinent to certain family members.
Open a blank document in Microsoft Word.
Create a text box for each person you want to include in the genogram. To add the first text box, click the “Insert” tab. In the “Text” group, click “Text Box.” Select “Draw Text Box.” Click in the document where you want to position the first name in the genogram. Click and drag to draw the text box, then type inside of it with the name of the person.
Add a text box for each labelled person in the genogram. Position the text boxes in the approximate location you want for each person, using your paper drawing as a guide. You can always go back and reposition things later.
Create shapes to use to represent each person. For instance, use squares for males and circles for females. To draw a shape for each person underneath his name, click the “Insert” tab. In the “Illustrations” group, click “Shapes.” Select the shape you want to insert, click a position on the document and drag to draw the shape. Press down “Shift” while you do this to draw a perfect circle or square. Repeat this for each person in the genogram. If one person has multiple relationships or details you want to include, make the shape larger.
- Add a text box for each labelled person in the genogram.
- Press down “Shift” while you do this to draw a perfect circle or square.
Draw lines to represent the connections between people. You should first draw lines showing the blood relationships between spouses, then parents and children. Click the “Insert” tab. In the “Illustrations” group, click “Shapes.” In the “Lines” group, right-click a line or elbow connector, then click “Lock Drawing Mode.” This will allow you to draw multiple lines at once. Click a position on the document, then move your cursor to another position and click again. Press “Shift” to draw a straight line. Double-click when you’ve finished drawing one line.
- Draw lines to represent the connections between people.
- Press “Shift” to draw a straight line.
Draw new lines, creating additional relationships, such as abuse, neglect or intimate relationships, if necessary. Choose the type of line you want and then manually draw it on the page. Press “Esc” to exit the drawing mode when you’ve drawn all the lines.
- Draw new lines, creating additional relationships, such as abuse, neglect or intimate relationships, if necessary.
- Press “Esc” to exit the drawing mode when you’ve drawn all the lines.
Select a line to format it, so you can distinguish between different relationships. With the line selected, click the “Format” tab. Change the shape style and stroke colour as needed.
Create additional text boxes for important details next to each person, such as birth date and death date or to signify a relationship type, such as first marriage or adoptive parents. Continue formatting the document until the genogram is complete.
Create a key in one corner of the document to show which different shapes, lines and colours signify certain types of relationships. Use the "Shapes" command to create small lines and shapes as you did in the above steps, making sure to include each type you used in the genogram. Next to each shape or colour, type what it signifies. For example, next to a small circle, type "female." This will help others easily read and interpret your genogram.
Click the “File” tab, then “Save as” to save the genogram.