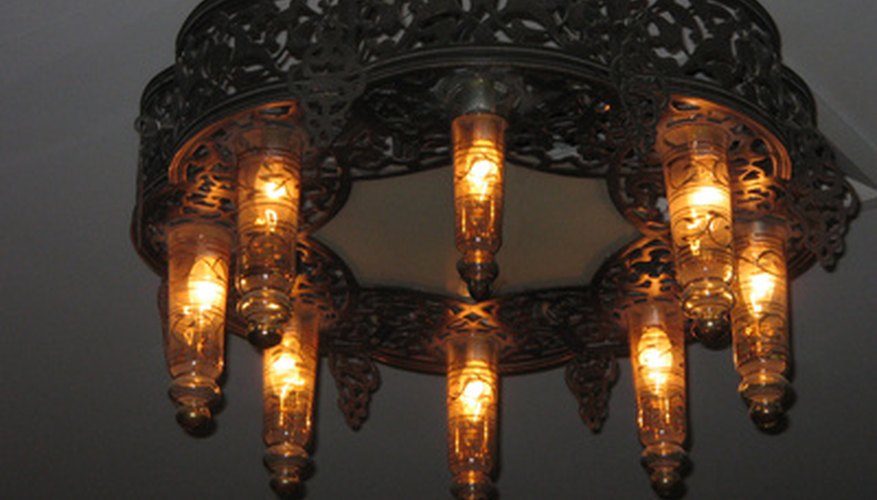
When you rearrange a room, it's a good idea to rearrange the lighting as well. When you change your ceiling light, this will mean running some wire to the new location and installing a new electrical box. If the light isn't heavy, you can probably get away with installing a remodel box on the surface of the drywall, but if the light weighs more than 2.27kg., you'll need to attach the new box to a rafter. If you can work in the attic, it will make running the wire and installing the box easier.
- When you rearrange a room, it's a good idea to rearrange the lighting as well.
- When you change your ceiling light, this will mean running some wire to the new location and installing a new electrical box.
Turn off the power to the light and take it out of the electrical box by removing the screws with a screwdriver. Pull the light away and remove the wire caps from the wires, then untwist the wires and separate them. Set the light aside.
Cut a hole in the ceiling for the new electrical box at the light's new location. If you have a lightweight fixture, you can use a remodelling box. Draw the outline of the back of the box on the ceiling, then cut it out with a drywall saw. If you have a heavier light, make the hole next to a rafter and mark it by outlining the front of the box on the drywall.
- Cut a hole in the ceiling for the new electrical box at the light's new location.
- If you have a heavier light, make the hole next to a rafter and mark it by outlining the front of the box on the drywall.
Run electrical cable from the location of the old fixture to the new one. You can use the old electrical box as a junction box for joining the wires if you relocate it at least 3 inches above the ceiling. Connect the wires inside the box by twisting the black wires together, then the white wires and finally the ground wires. Cap the ends of the black and white wires with wire caps, then screw a cover onto the front of the box.
Install an electrical box at the new location. If you use a remodelling box, set the box in the hole, turn the screws so the anchors in the back of the box hook onto the drywall, then tighten the screws with a screwdriver. If you use a regular box, nail it to the rafter so the opening is flush with the inside surface of the drywall.
- Install an electrical box at the new location.
- If you use a remodelling box, set the box in the hole, turn the screws so the anchors in the back of the box hook onto the drywall, then tighten the screws with a screwdriver.
Run the electrical wire through the back of the box and cut off 6 inches of sheathing with a utility knife, then remove 1/2 inch of insulation from the black and white wires with a wire stripper.
Install the light by twisting the black wires together with pliers and screwing on a wire cap. Repeat with the white wires and ground wires. Then attach the adaptor plate for the light fixture to the electrical box with set screws, and finally screw the fixture onto the adaptor plate.
Fit a small piece of wood through the old hole left by removal of the light and lay it flat over the hole. Fasten drywall screws through the ceiling into the board to hold it, then cut out a small piece of drywall to fit in the hole and screw it to the board.
Patch the hole by laying on drywall mud with a drywall blade and laying paper tape on top of the mud. Scrape the tape flat with the blade and let the mud dry overnight. Lay on two more topcoats, letting the first dry overnight before applying the second. Scrape each coat flat and feather the edges into the ceiling to hide the repair.
TIP
If you can't work in the attic, fish the electrical cord to the new location with fish tape or a coat hanger. If you have to attach the new electrical box to the rafter, you may need to cut a bigger hole, then patch around it.
WARNING
Be sure the power is off before you disconnect the old light. Working on live electrical wires is dangerous. If you need a ladder for this repair, get one that is high enough to allow you to work comfortably from the second highest step.