Authentic wood cabinets add warmth and grace to any kitchen. But, while oak kitchen cabinets are durable, they are not indestructible. Even the most lovingly handled kitchen cabinets will start to show some wear and tear after a few years. Not to worry. It is neither difficult nor expensive to restore oak cabinets. Oak is a sturdy and forgiving wood, so with a little attention and some elbow grease, you can refinish oak cabinets to their former elegant selves.
- Authentic wood cabinets add warmth and grace to any kitchen.
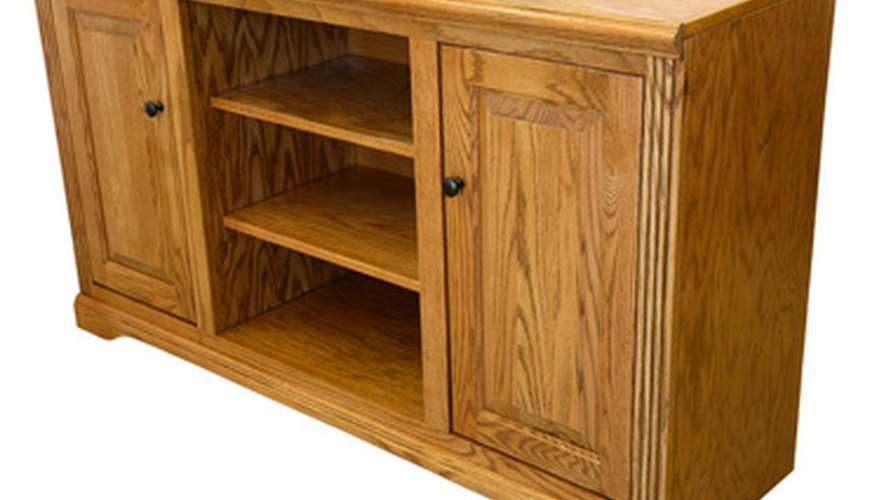
- Oak is a sturdy and forgiving wood, so with a little attention and some elbow grease, you can refinish oak cabinets to their former elegant selves.
Remove all of the hardware and the door and drawer pulls. Number the hardware, the doors and the frames with small pieces of masking tape and a marker. That way, you will know where everything goes when you put your kitchen back together.
Put the labelled hardware and pulls into a small bowl if you are going to use them again.
Remove the doors and drawers, and take them to a well-ventilated work area that has a large, flat surface.
Splash about 1/4 cup full of paint thinner onto a clean, lint-free shop cloth. This doesn't have to be an exact measurement, just dampen the cloth.
Rub the paint thinner all over your oak cabinet and drawer fronts, working it in small sections and pulling off as much debris, grease and old varnish as you can. Let the cabinets dry thoroughly.
Sand the oak cabinets and drawer fronts down with 80-grit sandpaper. Apply very light pressure and work with the grain of the wood, never across it or in circles.
- Put the labelled hardware and pulls into a small bowl if you are going to use them again.
- Apply very light pressure and work with the grain of the wood, never across it or in circles.
Wipe the dust away with a clean, lint-free shop cloth.
Go over the cabinets again with 120-grit sandpaper. Work with the grain and keep a very light touch. You just want to smooth out the surface, not strip it off. Wipe away the dust when you are finished.
Dip the corner of a staining sponge into your stain. Apply it to the cabinets in long, even strokes, working with the grain of the oak. Work from the top of the cabinet door to the bottom, making sure to feather the edges where the sweeps of stain meet, so that you don't get weird stripes of thicker stain.
- Wipe the dust away with a clean, lint-free shop cloth.
- Work from the top of the cabinet door to the bottom, making sure to feather the edges where the sweeps of stain meet, so that you don't get weird stripes of thicker stain.
Let the stain dry according to the manufacturer's recommendations, and then apply a second coat if you think the colour is not dark or rich enough.
Apply a spray sealer in long, even strokes. Make sure you purchase sealer that is compatible with the stain. Reading the labels will tell you this. Let the sealer dry according to the manufacturer's recommendations before applying a second coat.
Let the second coat of sealer cure at least overnight before putting the hardware back on and replacing the cabinets in your kitchen.
TIP
Replace the old hinges and door pulls for a completely new look.
WARNING
Always use stain and sealer in a well-ventilated area.