The Peavey Express 112 is a solid-state combo amplifier. The Express 112 has a single 12-inch speaker, two channels and two inputs. It is no longer in production. The Express 112 was part of Peavey's Transtube range of amplifiers that used the company's proprietary circuitry. Transtube circuitry was designed so that the transistors would emulate the sound of vacuum tubes. Because it uses transistors instead of tubes, this amp requires less ongoing maintenance than a tube amp.
Plug in a brand new guitar cable. A defective guitar cable can often make it sound like your amp is broken. Crackles, residual hum and buzzing are all common symptoms of a damaged amplifier that can also be caused by a faulty cable. Use a brand new cable to eliminate this. It is normal for this amp to emit low level hum between the frequencies of 20 Hz to 20 kHz.
- The Peavey Express 112 is a solid-state combo amplifier.
- Crackles, residual hum and buzzing are all common symptoms of a damaged amplifier that can also be caused by a faulty cable.
Troubleshoot the amplifier. Turn the volume dial down to zero and power up the amplifier. If the amplifier fails to power up completely, there is a problem in the power section. A red pilot light will illuminate if the power section is working properly. The power section of the Express 112 is rated at 65 watts, so be careful when inspecting it. If it powers up but you can't get any sound, there is a problem in either the preamp section or the speaker.
Inspect the interior. Unscrew the back panel to expose the preamp and power amp. Slide the preamp chassis toward you and melt the wire connection with a soldering iron. Set the preamp chassis to one side. Look out for obvious signs of damage such as loose wires and blown fuses. Replace any fuses that have a brown discolouration.
- Troubleshoot the amplifier.
- Set the preamp chassis to one side.
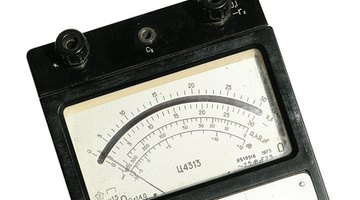
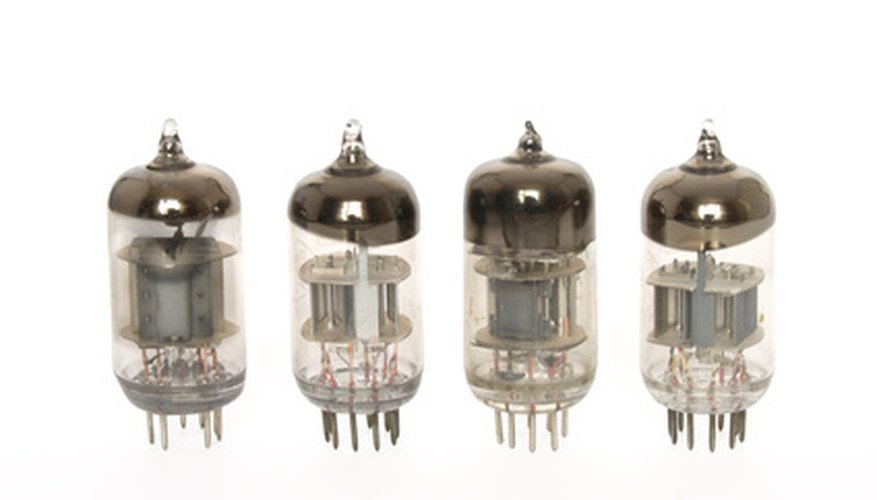
Unscrew the top of the chassis to expose the circuit board. Check the circuit board with a volt meter. Place the two prongs of the volt meter between the transistor closest to the input terminal and the next closest resistor. If there is a zero reading it means that there is no current in that part of the circuit board. This is a symptom of a shorted transistor. Remove the transistor by melting the solder connection on the underside of the printed circuit board. Replace the transistor with an identical one.
- Unscrew the top of the chassis to expose the circuit board.
- Remove the transistor by melting the solder connection on the underside of the printed circuit board.
Clean the potentiometers. A common source of problems in any type of amp is dust and grime accumulation behind the dials. The potentiometers form the interior part of any dial, they control the flow of current. Spray a plastic-safe contact cleaner on to the potentiometer and turn the dial fully left and right.
- A common source of problems in any type of amp is dust and grime accumulation behind the dials.
Inspect the speaker for rips. Shine a flashlight on the speaker from the front of the amp. This will expose any rips. A ripped speaker will create a flapping sound that normally occurs at medium to high volume. Replace your speaker if it is ripped.
Reattach the printed circuit board to the amp chassis. Screw the chassis lid shut and slide it back inside the amp. Reconnect the wires with your soldering iron.
TIP
Look out for poor soldering inside the amp. If you spot any solder blobs, melt them with your soldering iron and clean away the residue. Use a cleaner that contains lubricant. Radio Shack sells a plastic-safe contact cleaner and lubricant.
WARNING
Always ensure that the amp is disconnected from the power supply when you are carrying out repairs.