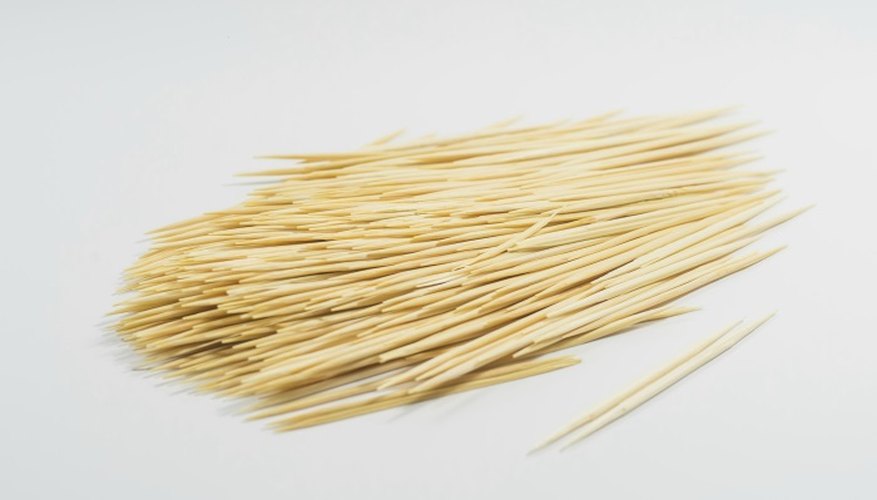
Toothpick bridges are craft projects common in many science classes and science fairs. Building the bridge is equal parts physics lesson and problem-solving, both of which can be compounded when the assignment requires the use of only 250 toothpicks. So little material means the bridge strength can be compromised, unless you know how to use the toothpicks to their best advantage. You can use an age-old bridge-building method, and build your bridge using a shape that will reinforce it: the triangle.
- Toothpick bridges are craft projects common in many science classes and science fairs.
- So little material means the bridge strength can be compromised, unless you know how to use the toothpicks to their best advantage.
Set out all 250 toothpicks and divide them into mini-piles of two picks each, which means you'll have 125 total piles. Glue each paired set of picks together lengthwise and let the glue dry. You now have 125 doubled-up toothpicks, which will add structural reinforcement to the bridge. Set aside 42 of these "new" toothpicks.
Divide the pile of 42 toothpicks into piles of three. You should have 14 piles total. Form the pieces of one pile into a triangle. Even the edges to make the shape perfectly symmetrical, then generously apply glue to the points of the triangle. Repeat to create 14 glued triangle shapes. Allow these to dry.
Separate the 14 triangles into two piles of seven each. Place seven triangles in a line on your workspace with all their points facing away from you. Their bottom edges should form a straight line. Push the triangles together so that their bottom corners slightly overlap. Glue the overlapping corners together, two at a time. Repeat to create a line of triangles. Repeat for the second pile. Glue one toothpick over each gap created by the points of the triangles to create 14 triangles. Allow glue to dry. These two lengths are the bridge's sides.
- Divide the pile of 42 toothpicks into piles of three.
- Glue one toothpick over each gap created by the points of the triangles to create 14 triangles.
Turn the two sides upside down (ask someone to hold them for you) and carefully glue toothpicks to the bottom edges of the two bridge walls to create a "footpath." Make more triangles out of the "footpath" toothpicks for added strength. Hold the walls in place for several minutes until the glue sets.
Turn the bridge over. The "footpath" should now be flat on your workspace. Take the remaining toothpicks and glue them across the tops of the bridge walls in an X-shaped, crisscross pattern.
TIP
Cover your workspace with a cloth or newspaper before you begin. Allow the glue to dry thoroughly according to the drying time listed on the bottle between each step, or your bridge will be hard to handle and may fall apart.
WARNING
Hot glue guns should only be used by an adult, or under adult supervision.