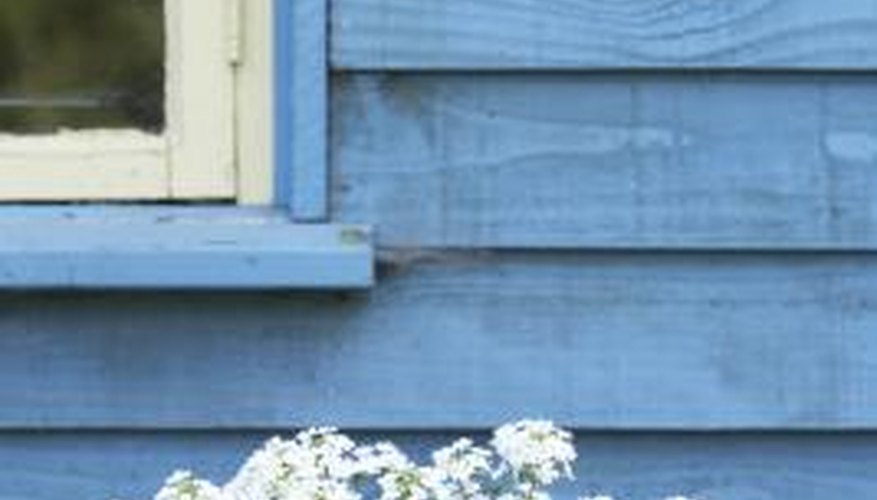
Weatherboards are the horizontal timber panels that form the exterior walls of a house, building or shed. These panels make a house look rustic and historic, and they are strong and sturdy enough to insulate and protect from the outside elements. Painting weatherboards can be time consuming but there are plenty of tips to make your job quicker and your painting more efficient.
Check the Weatherboard's Condition
Before painting or repainting your weatherboards, always inspect the timber for any signs of decay, moss, mould, flaking paint, chalk and rust. These afflictions can prevent the paint from sticking or settling and can also cause further wood decay problems in the long term. Moss and mould occur on sections of the house that are less exposed to natural sunlight, and paint will not stick there correctly. Teat moss and mould before painting. Rusty nails also create rust patches on the timber. Treat this problem by hammering the nail in further and painting a thicker coat into the new hole. Flaking paint means any existing coats of paint need to be removed --- either scrape it off with a scourer or burn it off with a hot air torch.
- Before painting or repainting your weatherboards, always inspect the timber for any signs of decay, moss, mould, flaking paint, chalk and rust.
- These afflictions can prevent the paint from sticking or settling and can also cause further wood decay problems in the long term.
Painting Horizontally
Always start from the top of the weatherboard to ensure any dripping paint can be evened out when you get to the next level. If you start from the bottom, any dripping or leaking paint will form an uneven dribble over the boards you have already painted.
Oil-based Paints and Primers
Oil-based paints give a glossy finish to any trim or touch-up work you do on your outside weatherboards. Unlike acrylic-based paints, oil-based paints give a smoother finish to the wood and make the material gleam in the light. Oil-based paints should also be used when painting over older oil paint coats; acrylic paints just won't cover and protect the older coats in the same way. Oil-based primers are also highly recommended by the DIY Painting Guide because they protect the bare timber from natural staining.
- Oil-based paints give a glossy finish to any trim or touch-up work you do on your outside weatherboards.
- Oil-based paints should also be used when painting over older oil paint coats; acrylic paints just won't cover and protect the older coats in the same way.
Painting on New Timber
New weatherboard timber needs a few things done to it before you can start painting. First, clean the timber so the paint does not stain: do this by using a roof wash or paint cleaner on the house exterior. You will also need to sand down any imperfections on the timber because any detachable wood might mix with the paint and give an undesired textured finish. Then start with a quick-dry primer (preferably oil-based) and paint extra amounts into any small holes or nail craters to even out the coat. From here you can apply two to three coats of your chosen paint.
- New weatherboard timber needs a few things done to it before you can start painting.
- First, clean the timber so the paint does not stain: do this by using a roof wash or paint cleaner on the house exterior.