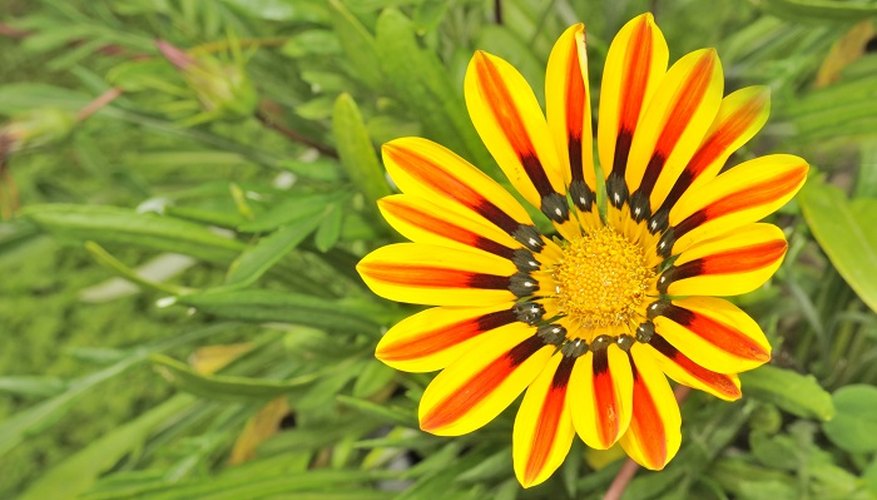
The name gazania refers to a genus of perennial flowers native to southern Africa. Many species of gazania are cultivated as ornamental plants for their velvety, silver-green foliage and showy flowers, which bear a resemblance to daisies in shape but occur in a variety of colour combinations. The hardiness of gazania plants endears them to many gardeners, and they are commonly planted as drought-resistant groundcover, or low-water, landscaping. Propagating gazanias is very simple since they grow readily from seed, cuttings and root division. In the UK, you'll need to grow them inside as a houseplant or under glass.
Propagate from seed
Collect seed from a healthy gazania plant in late summer. Insert a dried seed head into an envelope or fold a sheet of paper around it. Shake the seeds free into the envelope or folded paper and store them in a cool, dry place until late winter.
- Collect seed from a healthy gazania plant in late summer.
- Shake the seeds free into the envelope or folded paper and store them in a cool, dry place until late winter.
Prepare the seedling tray four weeks before the last frost in spring. Fill the tray with standard potting soil. Moisten the soil to a 5 cm (2 inch) depth with a spray bottle. Allow it to drain for approximately 20 minutes before sowing the gazania seeds.
Plant the gazania seeds to a depth of 3 mm (1/8 inch) and leave 5 cm (2 inch) spaces between each one. Sprinkle a light layer of sand over the top of the seedling tray.
Place the tray someplace warm with bright, indirect light and good air circulation. Water the gazania seeds to a depth of 5 cm (2 inches) every five days until they germinate, then decrease watering to 2.5 cm (1 inch) every five days.
Start checking for signs of germination after six days.
Propagate from cuttings
Take several soft-tip cuttings from a vigorous gazania plant in spring. Select a 7.5 cm (3 inch) portion from the tip of a new stem with abundant foliage and no flower bud or terminal. Snip the cutting using bypass pruners and place it in water while you prepare the sprouting tray.
Fill a seedling tray with a mixture of equal parts potting soil and sand. Moisten the soil mixture throughout its entire depth and allow it to drain for five minutes or so.
Remove the cuttings from the water. Pinch off the foliage from the lower portion of the stem so that 2.5 cm (1 inch) is bare. Insert the gazania cuttings into the moistened soil up to the bottom set of leaves.
Insert eight craft sticks or tongue depressors into the soil around the edge of the tray. Place one at each corner and one at equal distances between each of those.
Drape cling film over the sticks to create a greenhouselike environment. Place the gazania cuttings someplace with bright light and temperatures above 18 degrees C (65F).
Check for root growth after 15 days. Move the cuttings to a permanent pot as soon as they root and put on 2.5 cm (1 inch) or so of growth.
- Take several soft-tip cuttings from a vigorous gazania plant in spring.
- Move the cuttings to a permanent pot as soon as they root and put on 2.5 cm (1 inch) or so of growth.
Propagate from root division
Divide a 60 cm (2 feet) square portion of a vigorous and well-established gazania plant in autumn or early spring. Measure the portion to be divided and mark the edges.
Insert the blade of a shovel at least 15 cm (6 inches) into the soil around the division. Work the shovel under the edge of the division and gently pry it up. Work your way around the division until it is completely free from the main portion of the plant.
- Divide a 60 cm (2 feet) square portion of a vigorous and well-established gazania plant in autumn or early spring.
- Insert the blade of a shovel at least 15 cm (6 inches) into the soil around the division.
Lift the half portion of gazania out of the bed and move it to a large work area such as a patio or a garden bench. Cut the gazania division into four smaller portions using a gardening knife.
Plant the divisions 25 to 30 cm (10 to 12 inches) apart in a sunny bed with good drainage. Water the divisions to a depth of 17.5 cm (7 inches) every ten days for one month, then decrease watering to 12.5 cm (5 inches) every ten days.