IDE cables can be repaired by trimming off the end and replacing the connector with a specialised crimping tool. Second connectors can also be added to a single drive cable with the same tool, but it is often impossible to repair the centre connector on an IDE cable that has gone bad because installing the connector penetrates the conductors of the cable and, in the process, creates a modification that cannot be undone or easily repaired. Longer cables can sometimes be cut at the first connector, however, and two new connectors or all three connectors can then be attached.
Cut the faulty end off the IDE cable using a large pair of shears or other cutting device that will make a clean, even cut straight across the cable.
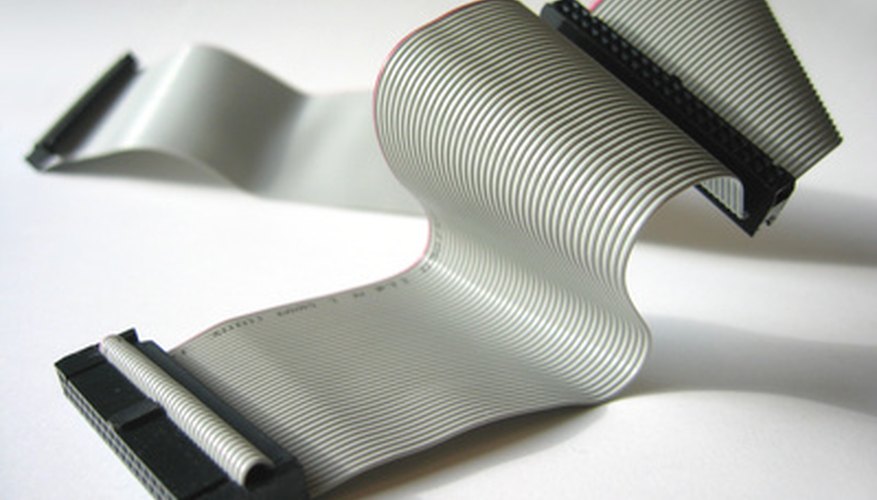
Locate pin 1 on the cable by the coloured stripe running along one edge of the cable or by inspecting the connector still attached to the cable.
Orient pin 1 of the IDC (Insulation Displacement Crimp) connector with pin 1 of the cable and place the connector over the cable, paying careful attention to the orientation of the connector.
Place the IDC crimping tool over the connector and firmly crimp the connector in place, checking after to make sure there is a solid connection and that the connector clicked into a permanently locked position. Alternately, place the connector into a vice or on a flat surface and apply even pressure with a hard object to crimp the connection in place if a crimping tool is not available. Trim any excess cable from the connector at this time.
- IDE cables can be repaired by trimming off the end and replacing the connector with a specialised crimping tool.
- Alternately, place the connector into a vice or on a flat surface and apply even pressure with a hard object to crimp the connection in place if a crimping tool is not available.
TIP
Always leave a little extra length on a cable to allow for some flexibility or to facilitate adjusting the location of a drive or the replacement of a drive or the motherboard with a model that is not the same dimensions or has a different placement of the socket for the IDE cable.
WARNING
Be sure to crimp the cable using the proper orientation of pin 1 on the cable, as indicated by the coloured stripe, with pin 1 on the connector on each end, as indicated on the connector. Never use a cable with a loose or misaligned crimp, as the bad connection or short circuit could damage the drive, interface board or motherboard. There are two directions the connector can face while still being connected to pin 1 in the correct way, but only one is going to be useful in the particular installation it is designed for: the orientation with the connector facing the drive instead of the other way around, which would require a severe twist in the cable to install.