If you live in an older home, chances are your ceilings are only 2.4 or 2.7 m (8 or 9 feet) high.
You can enhance the look of a boring, low ceiling by creating depth and drama with a tray ceiling. The name "tray ceiling" comes from the finished look, which resembles an inverted tray. The difficulty in adding a tray ceiling is not in making it, but rather in designing it, since your choices are many.
Planning and design
Buy several different types of crown moulding and bring them to the room where you're adding a tray ceiling. Try out several combinations in the available light to see what looks best.
Determine where you want the lower ceiling. In most older homes with low ceilings, you should leave the main ceiling at its current height, and add the tray effect around the perimeter. It can either be free-standing with trim on both sides, or butted up to the wall. Consider an octagonal design for added elegance.
Measure your room. If adding the tray to the perimeter, quadruple the measurement. Divide by the length of the 5 by 10 cm (2 by 4 inch) studs to get the proper amount of materials. For example, if your room is 3.6 m by 4.8 m (12 by 16 feet), the total measurement is 16.8 m (56 feet) around the perimeter. You will need 67.2 m (224 feet) of studs. If your studs are 2.4 m (8 feet) long, you will need 28 studs to build your tray ceiling. You may want to buy a few more, because you'll need to cut some of them.
- Buy several different types of crown moulding and bring them to the room where you're adding a tray ceiling.
- If your studs are 2.4 m (8 feet) long, you will need 28 studs to build your tray ceiling.
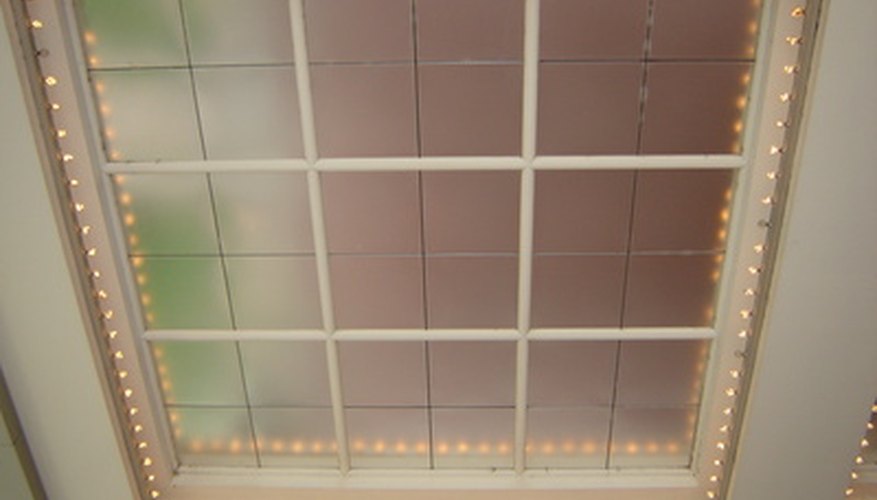
Select the crown moulding you want. Most tray ceilings have multiple crown moulding combinations in a stair-step effect. Determine what the final look will be. Consider adding rope lighting on the inside of the dropped part of the ceiling, painting the inside a different colour from the rest of the ceiling, adding a chandelier to the centre of the recessed area, possibly painting a mural in the recessed area or adding tin or glass panels.
Lower ceiling
Nail together a box out of the 5 by 10 cm (2 by 4 inch) boards to the size you've determined for your tray effect. Attach to the ceiling joists with a nail gun. Continue until you have four sides.
- Nail together a box out of the 5 by 10 cm (2 by 4 inch) boards to the size you've determined for your tray effect.
Add recessed lighting, if desired, before you enclose the box. Unless you understand electricity, it's best to leave this step to a professional.
Cut plasterboard to fit over the box. Attach with plasterboard screws.
Nail up metal edging strips to finish off any outer edges. Tape the joints, using joint compound to adhere the tape. Allow to dry.
Add two more coats of joint compound to the seams, sanding between each coat. Allow to dry completely.
Crown moulding
Calculate the amount of crown moulding that you will need by measuring the inside and outside edge of the new soffit and adding those measurements together. You can add crown to the part of the soffit that attaches to the wall, or to the bottom of the soffit, or both. Purchase a bit more than you will need to allow for mitre cuts.
- Calculate the amount of crown moulding that you will need by measuring the inside and outside edge of the new soffit and adding those measurements together.
Join each piece of crown together with a mitre cut, using a mitre saw and a coping saw to cut. Attach to the soffit with nails and a nail gun.
Prime the plasterboard with primer paint. Add rope lighting, if desired.
Paint the new tray ceiling for your final effect.
TIP
For aesthetic appeal, don't make your lower ceiling any wider than 60 cm (2 feet), and no more than 30 cm (12 inches) lower than the main ceiling. A dark colour on the ceiling creates the illusion of closeness. Lighter colours make the room look more airy.