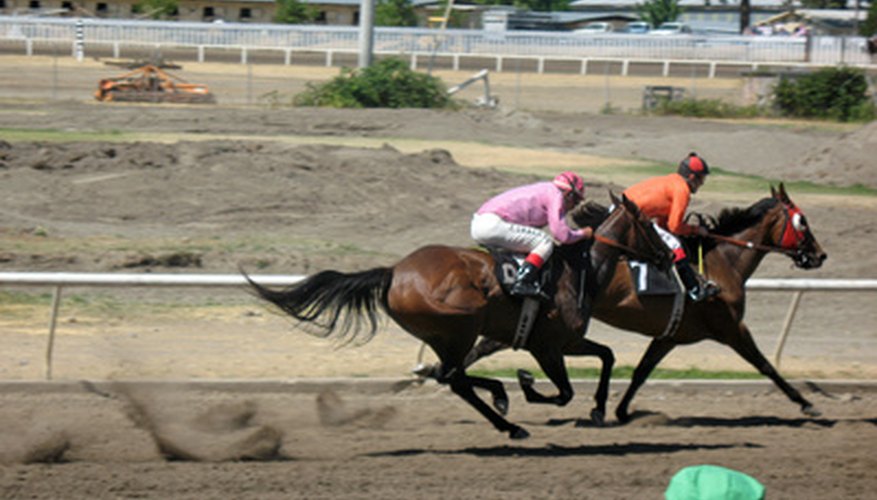
Horse walkers, or hot walkers, are often used as time savers for exercising horses or cooling down following a workout. Walkers are sometimes used to rehabilitate horses after injuries as well.
Purchasing new or used horse walkers can be easily accomplished, but they are expensive. Depending on preferences, walkers can range from £1,950 to £13,000.
Choosing to make your own walker may be a solution for the cash-strapped horse owner as parts can be bought gradually and then assembled. While horse walkers come in many types, a do-it-yourself-er should build a standard type walker and keep it as simple as possible.
- Horse walkers, or hot walkers, are often used as time savers for exercising horses or cooling down following a workout.
- While horse walkers come in many types, a do-it-yourself-er should build a standard type walker and keep it as simple as possible.
Choose a location for your walker. Be sure the location is accessible to 220v single-phase power and is not in an area prone to flooding. Use the tractor to level the ground.
Build a framework for the concrete pad which anchors the walker. Measure and cut the boards to the size desired. The foundation should be at least 5 feet by 5 feet and an inch thick. Nail the 2x4s together into a square form and anchor with the rebar pieces.
Mix your concrete and pour into the form. Use the concrete float to finish, and allow sufficient drying time, usually a day or more, depending on the weather.
- Build a framework for the concrete pad which anchors the walker.
- Use the concrete float to finish, and allow sufficient drying time, usually a day or more, depending on the weather.
Use the shovel or tractor to dig an underground line for the electricity, from your power source to the foundation.
Hire a certified electrician to pull the wire through the conduit and do the preliminary electrical work. Bury the middle section of the conduit.
Cut the square tubing into the pieces needed for the framework and arms of the walker. The longer the arms, the greater the distance the horses will walk. Most four-horse walkers have arms between 14 and 17 feet long. Arms should be at least 8 feet above the ground.
Weld the pieces together or hire a welder to complete the task for you. Weld the rings to the ends of the arms for a connection point for the tethers.
- Hire a certified electrician to pull the wire through the conduit and do the preliminary electrical work.
- Weld the rings to the ends of the arms for a connection point for the tethers.
Cut the galvanised sheet metal to cover the box for the motor. Weld three sides to the frame. Weld the hinges and latch to the fourth side to create a door which can be opened for maintenance on the motor.
- Cut the galvanised sheet metal to cover the box for the motor.
Insert the motor into the framework and connect to the centre post. Bring the electrician back to connect the motor to the power source and to the control box. Finish burying the electrical line.
Secure the nylon straps to the rings on the arms. The horses can now be attached to the walker using the snaps to hook to the halter.
TIP
The motor should be able to be reversed so that horses can walk in both directions. Square tubing is stronger than round or angled pipe, but those may be used as well. Use breakaway straps and snaps for the connections so that a horse can be easily rescued should he get in trouble.
WARNING
Be sure your electrician creates an emergency shut-off switch for the walker in case of accidents. Horses should be supervised when they are on the walker; a person should never be out of sight for more than a couple of minutes, in case of problems.