Building codes require that ramps rise in height no more than 1 inch for every 12 inches of length. Consider this requirement when choosing the style of ramp to build. Brick ramps could be made as part of the landscape so that it appears to be a gently sloping sidewalk from the driveway to the door or as a structural ramp. Consider the area where the ramp is going to be built to determine the shape it should be built. Ramps can be straight, switchback, U-shaped or L-shaped as needed to fit into the landscaping.
- Building codes require that ramps rise in height no more than 1 inch for every 12 inches of length.
- Ramps can be straight, switchback, U-shaped or L-shaped as needed to fit into the landscaping.
Contact local city building code agencies for instructions on getting and posting building permits. Complete all required paperwork and post the permit according to local laws.
Determine the rise in inches from the top of the step to the bottom of the ramp. Multiply this measurement by 12 to determine the length of the ramp. If the step is 12 inches high the ramp will need to be 144 inches long. Choose the shape of the ramp. Bricks allow for curves if desired, but the width should always be 4 feet wide unless building codes specify a different width.
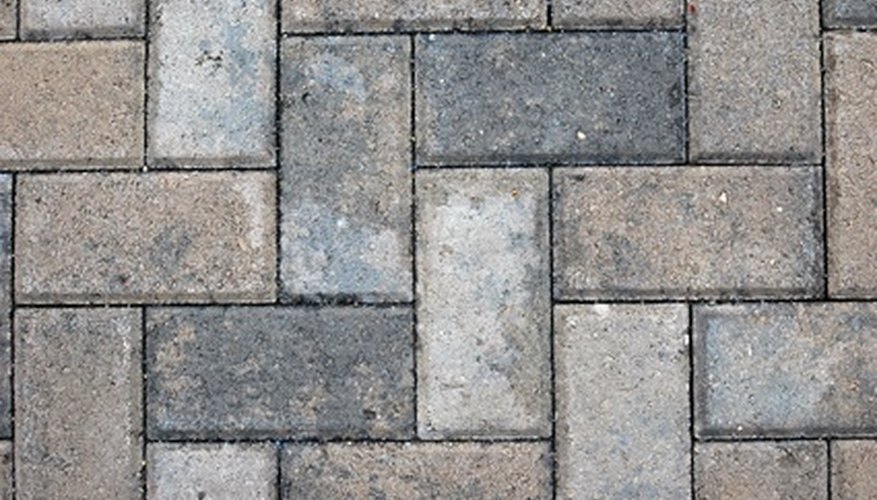
Choose the bricks and the pattern to be used when laying them. Bricks come in a variety of colours and sizes. Choose a size that will require the least amount of cutting to make the construction easier. Calculate the number of bricks needed for the project.
- Determine the rise in inches from the top of the step to the bottom of the ramp.
- Choose a size that will require the least amount of cutting to make the construction easier.
Mark the sides of the ramp with stakes placed every 6 inches along the chosen path. Mark the top of every other stake so the 12-inch measurement is easily identified. Dig out or fill in soil as needed to create a base for the bricks. Once completed the brick will rise 6 inches above this base.
- Mark the sides of the ramp with stakes placed every 6 inches along the chosen path.
Smooth the graded area by pulling the 2 by 4 length of wood across the ramp area. Set a level on top of the wood to verify the ramp doesn't tilt to one side or another. Add or remove dirt as needed until the ramp is level along its entire length. Verify the rise of the ramp does not exceed building code requirements. Install the lengths of 2 by 6 redwood along the stakes as edging.
Spread a layer of gravel 3 to 4 inches thick over the dirt. Tamp this gravel firmly. Lay a ½ inch layer of sand over this gravel. Place the level on top of the 2 by 4 piece of wood and pull across the ramp to verify it is level across the entire ramp.
Lay the bricks on the sand gently, beginning at the top of the ramp. The bricks will be sitting slightly higher than the step as they will settle. Tamp each brick firmly with a rubber mallet as it is laid in place. Lay the bricks that do not need to be cut all the way to the end of the ramp before returning to the top to lay the cut bricks.
- Spread a layer of gravel 3 to 4 inches thick over the dirt.
- The bricks will be sitting slightly higher than the step as they will settle.
Cover the bricks with a thin layer of sand and gently sweep this sand into the joints between the bricks. Add landscaping to the sides of the ramp as needed to hold soil in place or integrate the ramp into the overall landscaping.