Aiwa is known for its stereo equipment. The company produces well made components including a line of CD players. Because Aiwa components are well made, many stereo owners maintain their older Aiwa equipment rather than replace it. However, minor problems may develop over time that require repair. You can hire a professional repair technician to do the work but the labour cost is often greater than that of the CD player. Instead, you can use a few simple techniques to repair an Aiwa CD player rather than replace it.
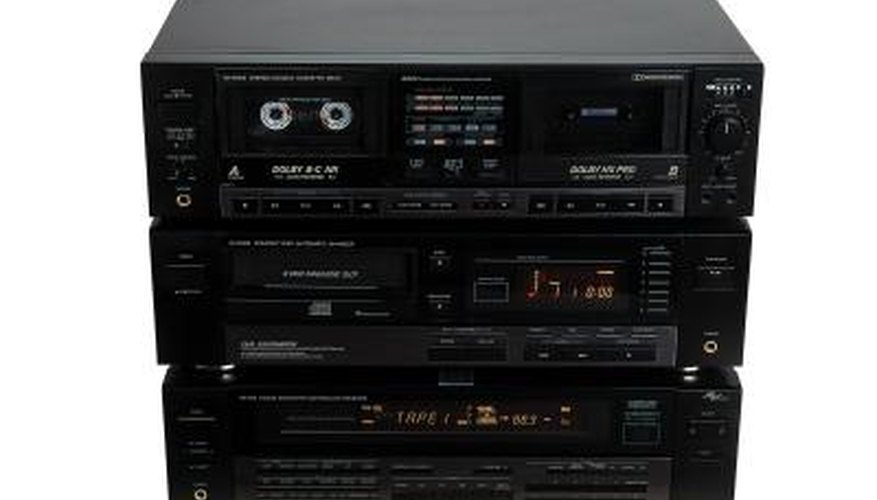
- Aiwa is known for its stereo equipment.
- Instead, you can use a few simple techniques to repair an Aiwa CD player rather than replace it.
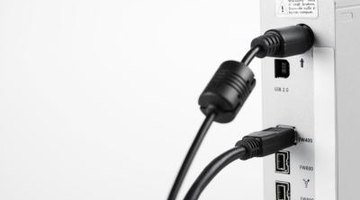
Turn the CD player off and unplug the power cord. Aiwa CD players use a hard-wired power cord that must be unplugged from the electrical socket. Never work on an electronic device while it is either on or plugged into an outlet.
Check the fuse. The fuse works in the same way as a circuit breaker, cutting the power off when there is an interruption that could damage the device. Aiwa CD players have a fuse on the device's back panel. Unscrew the fuse cap and pull the fuse out. Hold the fuse up to a light source and inspect the fuse's metal core. If the fuse is blown, the metal strip inside the fuse will be melted into two pieces. Do not replace the fuse until you find the initial problem.
- The fuse works in the same way as a circuit breaker, cutting the power off when there is an interruption that could damage the device.
- If the fuse is blown, the metal strip inside the fuse will be melted into two pieces.
Open the casing. Aiwa CD players have mounting screws on the side of the casing. Use a Phillips screwdriver to remove the screws. Place the screws in a plastic bag to prevent losing them.
- Aiwa CD players have mounting screws on the side of the casing.
- Place the screws in a plastic bag to prevent losing them.
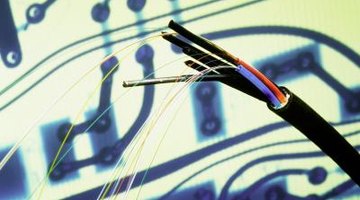
Examine the wiring. Because the wiring is surrounded by mechanical parts that move within the CD player's frame, a wire may be caught on one of these moving parts. Check the wiring for rips in the shielding and loose connections.
Repair the damaged wiring. Carefully wrap a piece of electrician's tape around any bare wires, extending the tape ¼ inch on either side of the shielding. Solder any loose wires back to their connection points.
- Repair the damaged wiring.
- Solder any loose wires back to their connection points.

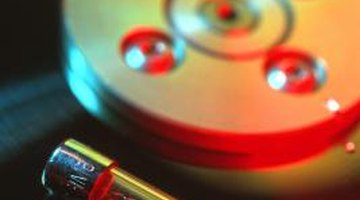
Inspect the circuit board. Moisture can cause corrosion to form on the circuit board that causes electrical shorts. Use a cotton swab dipped in rubbing alcohol to clean the corrosion off the board.
Clean the CD player with compressed air. The Aiwa CD player encapsulates a large amount of wiring and mechanical parts into a small area. Some parts are hard to reach. Use compressed air to blow out any dirt and debris from the CD player's interior.
Tighten any loose mechanical parts. The Aiwa CD player uses plastic gears combined with metal tracks to move the CD's optical reader across the CD. Over time, these parts become loose. Use a Phillips screwdriver to tighten any loose parts.
- Tighten any loose mechanical parts.
- Use a Phillips screwdriver to tighten any loose parts.

Clean the optical lens. Use a CD lens cleaner to clean the optical reader. Replace the cover and power the CD player up.