Water taps made for the outside of your home have a very simple, linear construction. It helps to know the different parts of the tap if you develop a leak that needs fixing, or if you plan on replacing the tap altogether. While there are different styles, they are all based on the same simple concepts.
- Water taps made for the outside of your home have a very simple, linear construction.
- It helps to know the different parts of the tap if you develop a leak that needs fixing, or if you plan on replacing the tap altogether.
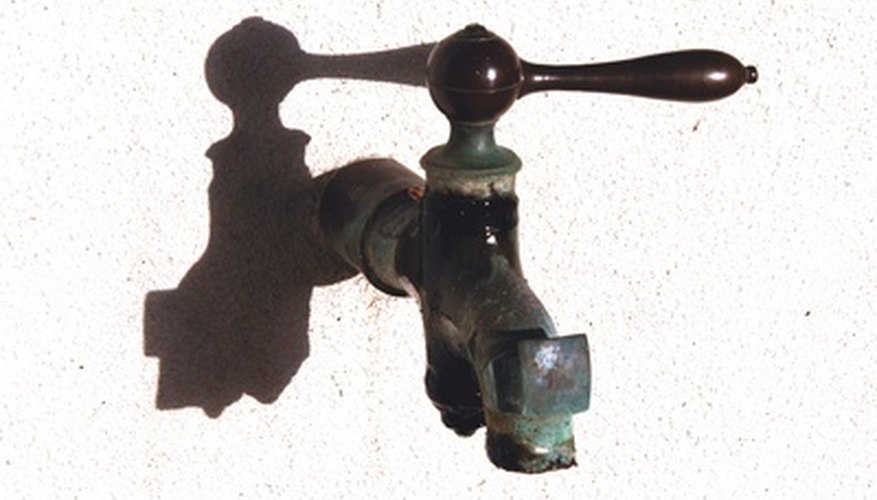
Handle
The handle is used to turn the tap on to allow the flow of water and to shut if off. It may be winged in shape or appear somewhat like a wagon wheel, depending on the style and age of your water tap.
Bonnet Nut
The bonnet nut screws onto the stem of the tap, giving a place to attach the handle via a small screw.
Stem and Packing
The stem is the part of the tap that controls the flow of water by screwing the washer down into the valve seat when in the off position. It is surrounded by packing which keeps it firmly in place, as the name suggests.
Washer
The washer sits at the bottom of the stem between it and the valve seat and prevents leaks.
Valve Body and Valve Seat
This is where the flow of water is stopped and started, and is located inside the spigot.