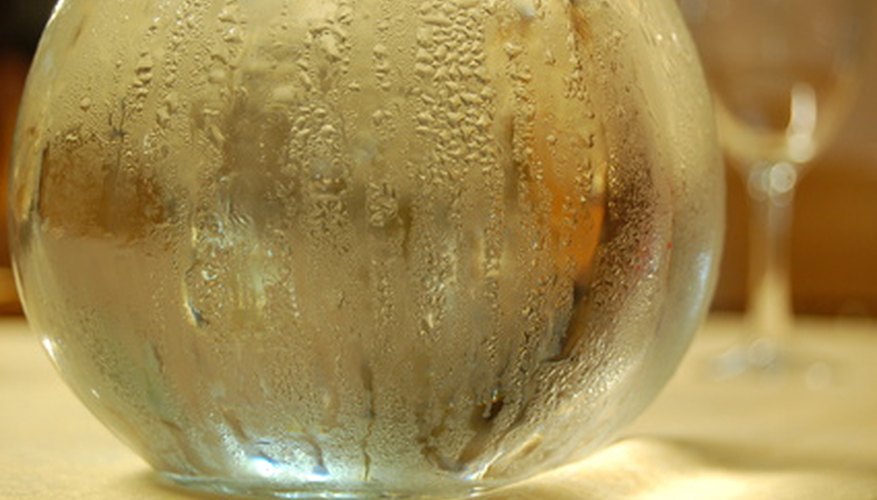
Artificially creating any kind of water or liquid effect in Photoshop can be very difficult. Water is a very abstract substance, and light reflects off of it in odd and complex ways. However, one can easily create realistic condensation in Photoshop using a few different filters in combination with each other. Just follow the steps below to add the effect of condensation to any image in no time.
- Artificially creating any kind of water or liquid effect in Photoshop can be very difficult.
- However, one can easily create realistic condensation in Photoshop using a few different filters in combination with each other.
Launch Photoshop and open the image you want to add condensation to.
Press "Ctrl/Cmd+J" to duplicate the layer. The select the top layer, which will be the copy.
Make a selection around the area of the image you want the condensation to be in using the "Polygon Lasso" tool.
Go to "Select" then "Inverse" to inverse the selection.
Press the "Delete" key. Now the layer will be transparent except for where you made your initial selection.
Go to "Edit" then "Fill..." Set the fill colour as "black" and press "OK."
Click on the "Filter" menu, scroll down to "Texture" and choose "Grain." Increase the contrast and grain amount until you get a snowy looking image. Click "OK" when you are finished.
- Make a selection around the area of the image you want the condensation to be in using the "Polygon Lasso" tool.
- Increase the contrast and grain amount until you get a snowy looking image.
Go to the "Filter" menu again and this time scroll down to "Artistic" and select "Smudge Stick." Move the different fades left to right until you make bold streaks. Press "OK" when you are finished.
Go to the "Filters" menu a third time and scroll over "Blur" and select "Gaussian Blur." Set the "Radius" to "1.5" pixels and click "OK."
- Go to the "Filter" menu again and this time scroll down to "Artistic" and select "Smudge Stick."
- Go to the "Filters" menu a third time and scroll over "Blur" and select "Gaussian Blur."
Go to the "Edit" menu and under "Transform" click on the "Warp" tool. Use the "Warp" tool to adjust your image so it fits the contours of the object you are adding condensation to. Click and drag on the different points of the selection to warp the shape.
Go to the "Select" menu and click on "Color Range." Use the "Eyedropper" to select from the black area of the image. Click "OK."
Hide the top layer, but do not deselect. Then click on the bottom layer.
Go to "Filter," "Blur," "Gaussian Blur." Set the radius to "3 pixels" and click "OK."
- Go to the "Select" menu and click on "Color Range."
- Set the radius to "3 pixels" and click "OK."
Go to "Image," "Adjustments," "Hue/Saturation." Set the "Lightness" to "+10" then press "OK."
Go to "Filter," "Noise," "Add Noise." Set the amount to "3%" then click "OK."