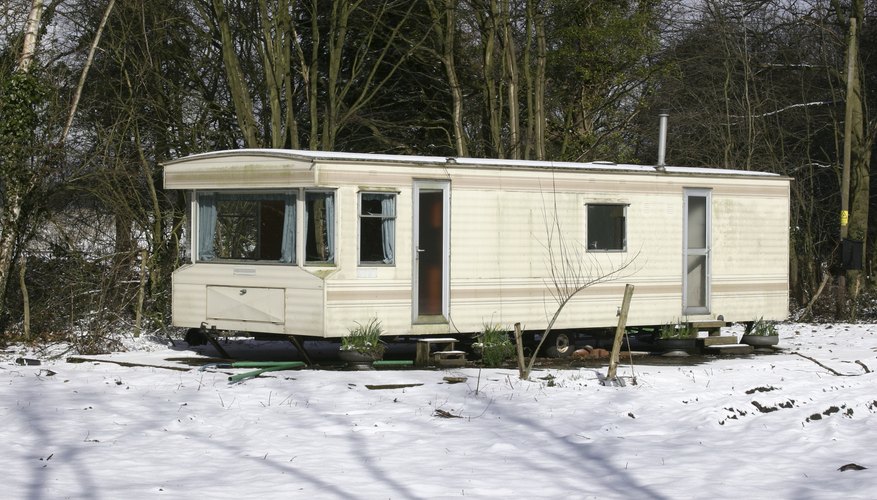
Permanently siting a caravan on breeze block piers creates a stable platform resistant to rocking, and allows absolute level be maintained. This is desirable both for human comfort and because, in older units, refrigerators will sometimes fail if operated off-level. It is also beneficial to tyre and suspension life.
- Permanently siting a caravan on breeze block piers creates a stable platform resistant to rocking, and allows absolute level be maintained.
Check with the local council's planning department whether the site you have for your static caravan is in an area where permanent habitation is permitted. Proximity to streets or property boundaries, or the permanent fixing of utility lines such as power cords and water hoses changes the usage of your mobile home from the definition of touring caravan to static caravan. Council tax may accrue if the caravan wheels are removed. Wind zone regulations may govern additions such as screened awnings, because lean-to roofs increase "wind capture."
Create a flat, level pad where the caravan is to be sited. Use a rented sod cutter to remove any vegetation. Saturate the area with nonleaching weed killer.
- Create a flat, level pad where the caravan is to be sited.
- Use a rented sod cutter to remove any vegetation.
Rake out a firm base, and ensure good drainage, by using sufficient gravel to cover the area to a depth of at least 5 cm (2 inches).
Use stabilising jacks and a carpenter's level to attach oversized bubble levels to both faces of one exterior corner at the caravan's rear.
Manoeuvre the caravan to its intended permanent location, and chock its wheels. Extend the tongue jack. Remove the tow vehicle from the site.
Calculate the number of breeze blocks required to build each pier. An average ground-to-frame height of 60 cm (24 inches) will require six 25 cm (10 inch) blocks to lift the wheels off the ground, assembled in a three-high interlocking pattern. Arrange sufficient blocks close to the four locations where the piers are to be built.
- Calculate the number of breeze blocks required to build each pier.
- Arrange sufficient blocks close to the four locations where the piers are to be built.
Distribute wooden shims to the four locations where the piers are to be built.
Locate four 60 cm (24 inch) pavers on the gravel, midway between the axle and each corner. To prevent later cracking, each paver location must be particularly flat, smooth and level.
Retract the tongue jack until the caravan rear tilts upward sufficiently far from the ground to allow installation of both rear piers.
Construct both rear piers upon the two rear pavers. Align two breeze blocks in one direction, the next course in the other, in a uniform interlocked arrangement. When no more will fit underneath, insert shims until the space between the top block and chassis is filled.
- Construct both rear piers upon the two rear pavers.
- When no more will fit underneath, insert shims until the space between the top block and chassis is filled.
Lift the front of the caravan using a bottle jack under each forward corner. To prevent the jacks from sinking, position broad jacking pads beneath the jacks before putting them under load. It may be necessary to build temporary piers beneath the bottle jacks to accomplish this safely. To minimise any risk of racking, alternately raise each jack only 5 cm (2 inches) at a time.
Continue jacking past when the back end of the caravan sets onto the rear piers, until the chassis is approximately level. To ensure a solid siting, all its weight must be taken off the wheels so that springs relax and tyres do not contact the ground.
Install the two front piers, constructed exactly as were the rear piers. Lower the bottle jacks until the caravan is settled on all four piers. The tyres must remain off the ground.
Fine-tune the level using a bottle jack under one corner at a time, again raising each jacking point only 5 cm (2 inches) per lift to avoid twisting the chassis. Go first side-to-side and then fore-to-aft. Use the bubble levels to avoid repeatedly entering and exiting the caravan. Slide in wooden shims sufficient to achieve exact levelness, then depressurise and remove the jack. Shims must be long and wide enough to cloak the entire upper face of each pier. Breeze blocks should not contact the caravan frame, so insert at least one shim everywhere weight is transferred to each support pier. Use sound hardwood with no cracks or knots.
- Continue jacking past when the back end of the caravan sets onto the rear piers, until the chassis is approximately level.
- Slide in wooden shims sufficient to achieve exact levelness, then depressurise and remove the jack.
TIP
Freeze/thaw cycles and heavy rains may necessitate occasional relevelling. Use the least number of piers that will safely supporting the caravan, to minimise the relevelling required. For the size of static caravan specified, four piers is sufficient. Position the breeze blocks with solid walls vertical. If they are open side-to-side, they will be weak. Once caravan is sited, partially depressurising tires will extend their life. If the location is subject to intense ultraviolet or ozone damage, cover wheels with UV shields. If leaving caravan for long period, winterise on-board water systems. If location is subject to severe weather, fit hurricane straps to ground anchors.
WARNING
Always have another person on-site when lifting heavy and unwieldy objects. Position safety blocks under caravan during entire siting process. Hand-turned, electric and hydraulic automatic levellers slung beneath the caravan are called stabilising jacks. They and the tongue jack are intended to distribute grounded weight. Do not use them to lift the axle off the ground. Ensure both bottle jacks are rated to exceed the total weight of the caravan. Scissor jacks will be inadequate. Caravan frames will flex if load is hung distant from the axle, which is the only point intended to be weight-bearing. Racking, or frame-twisting, can occur when supporting the corners. Racking may result in doors and windows, cabinets and even slideouts failing to operate correctly.