Many static caravans will eventually need vinyl cladding replacement over their lifespan. The first static caravans were framed from cheap wood material instead of today's vinyl. As static caravans became a trend among consumers, the framing choice by many manufacturers turned to vinyl, a product much more durable and longer-lasting than wooden boards. Vinyl cladding offers protection and makes the structure more secure and sturdy. Do-it-yourselfers with a bit of know-how can install it.
Measure the dimensions of the structure with a measuring tape so you know how much cladding you'll need.
Apply a layer of insulation to the frame of the home. Use a type of insulation appropriate for your climate. Place a layer of wind wrap paper on top of the insulation to help protect it from damage if the cladding ever comes unattached from the home. Place the vertical side posts onto each corner of the building with a hammer and galvanised nails. This will be the slot where the ends of the cladding will be anchored.
- Many static caravans will eventually need vinyl cladding replacement over their lifespan.
- Place a layer of wind wrap paper on top of the insulation to help protect it from damage if the cladding ever comes unattached from the home.
Install curved metal cladding fittings around each window of the home and the door frames. This helps secure the cladding sheets under the window frames and around any sill noses that will cause the sliding to not fit properly. Place a metal strip along the bottom of the home for the sliding to rest in. Ensure the slip is placed on the frame so it is level.
- Install curved metal cladding fittings around each window of the home and the door frames.
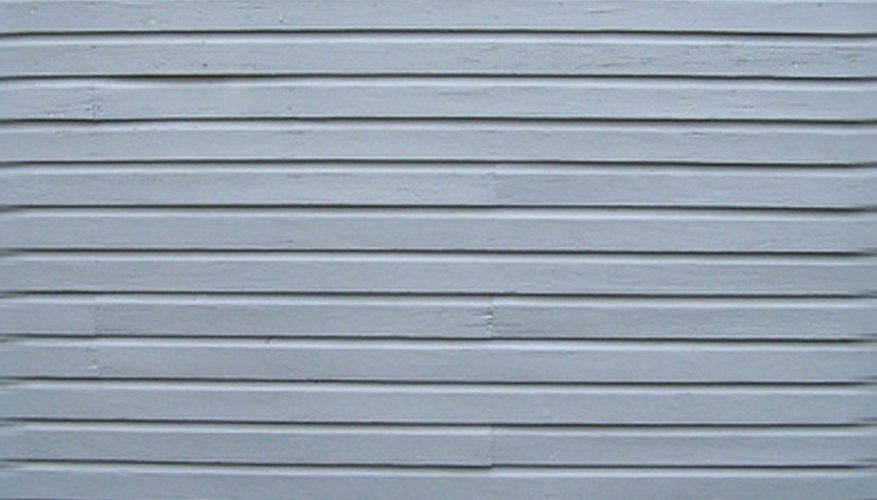
Apply the cladding onto the home in a staggered fashion. Begin installing the material upward from the starter strip, overlapping the edges of the cladding by about 2.5 cm (1 inch). Some of the cladding may need to be cut with a table saw to properly fit and overlap the adjoining pieces. Slip the ends of the cladding under the installed fittings. Likewise, slip the cladding under the vertical posts on the home's corners.
Add an outer corner post on top of the cladding vertical posts. Use screws and a drill to install the post onto each corner of the home. With a jigsaw, cut out any areas that will house electrical sockets. Install the socket and add caulk around the hole, using a caulk gun. Additionally, caulk can be added along the bottom metal strip to deter water or bees from getting behind the siding.
TIP
Visit a DIY centre to find the best type of cladding to use in your location and climate. Painting the siding is an option if the desired colour could not be bought. Use an exterior cladding paint.