Cleaning the fuel injectors on the Ford Ranger is a straightforward process that involves simple steps and tools. The Ranger is identical to the Mazda B Series, so the procedures apply to both. The fuel system is under high pressure to vaporise properly on signal. It is important to release this pressure prior to doing any other work.
Relieve the fuel pressure by disconnecting the power to the fuel pump switch. It is located in the passenger compartment behind the glove box in 1994 and earlier models. Later models placed the switch behind the passenger side kick panel. B-Series trucks placed the switch under the carpet on the passenger side of the transmission hump. Remove the plug to disable the inertia switch. Turn the key to run the starter motor for 15 to 20 seconds in order to relieve the pressure. Be sure to plug the connector in when you finish.
- Cleaning the fuel injectors on the Ford Ranger is a straightforward process that involves simple steps and tools.
- B-Series trucks placed the switch under the carpet on the passenger side of the transmission hump.
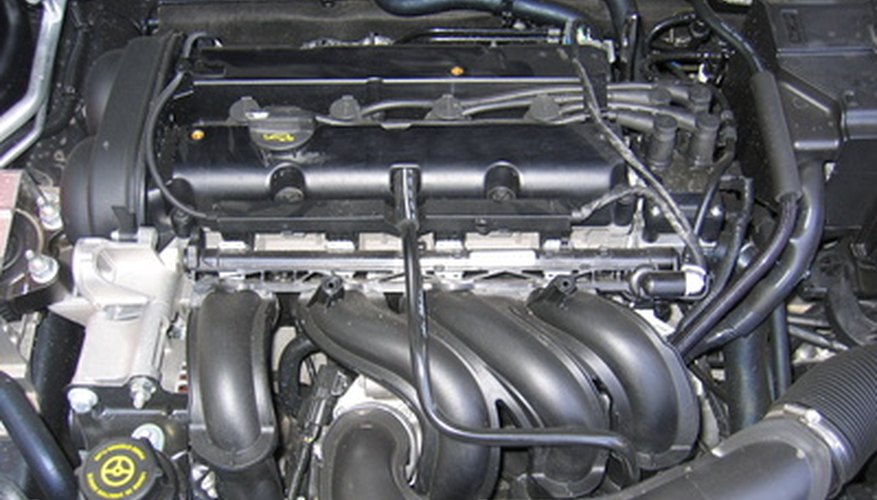
Open the bonnet. Disconnect the air cleaner and hoses by removing their retaining screws and clamps. Most models have a two-piece intake manifold to feed air into the engine. The upper portion, consisting of cast metal tubes under the air cleaner, must be removed in all models except post-2001 four-cylinder models. Label and disconnect all electrical connections and vacuum lines attached to the manifold, and use a ratchet and socket to remove the bolts securing it to the lower half. Remove the clamps connecting the fuel lines to each end of the metal tubes -- the fuel rails -- running along the top of each cylinder head. Fuel is likely to spill, so be prepared with several rags to clean up the mess before proceeding.
- Disconnect the air cleaner and hoses by removing their retaining screws and clamps.
- Label and disconnect all electrical connections and vacuum lines attached to the manifold, and use a ratchet and socket to remove the bolts securing it to the lower half.
Label and disconnect all electrical connectors attached to the injectors located under the fuel rail. Unbolt the fuel rails and gently rock them free. The injectors are plugged into the fuel rail and may come out with the rail. If they do not, carefully work any remaining injectors free with your fingers from the lower intake manifold or the rail. Be sure to check for any "O" rings left behind and remove them.
- Label and disconnect all electrical connectors attached to the injectors located under the fuel rail.
- If they do not, carefully work any remaining injectors free with your fingers from the lower intake manifold or the rail.
Remove the "O" rings -- two per injector -- and the filter from the bottom of the injector. Put the injector cleaning solution in the bucket and soak the injectors. The more dirt and grime on the injectors, the longer they should soak. If necessary prepare a clean batch of solvent and repeat the soaking process.
Remove the injectors from the solution and use the compressed air to blow any residue out of the nozzle. Inspect each injector for cracks or signs of excessive wear and replace if necessary.
TIP
Clean the engine compartment with a pressure washer to reduce the chance that dirt will contaminate the engine.
WARNING
Failure to relieve fuel pressure will result in a hazardous release of gasoline. Do not have open flame or hot light bulbs too close to gasoline. Keep a fire extinguisher, minimum class B, on hand when working with flammable liquids. Store gasoline or solvent soaked rags in a tightly sealed container. Gasoline is caustic, and you should wear proper safety equipment, including eye protection. Be sure to read the instructions on any cleaning fluids or compounds you use.