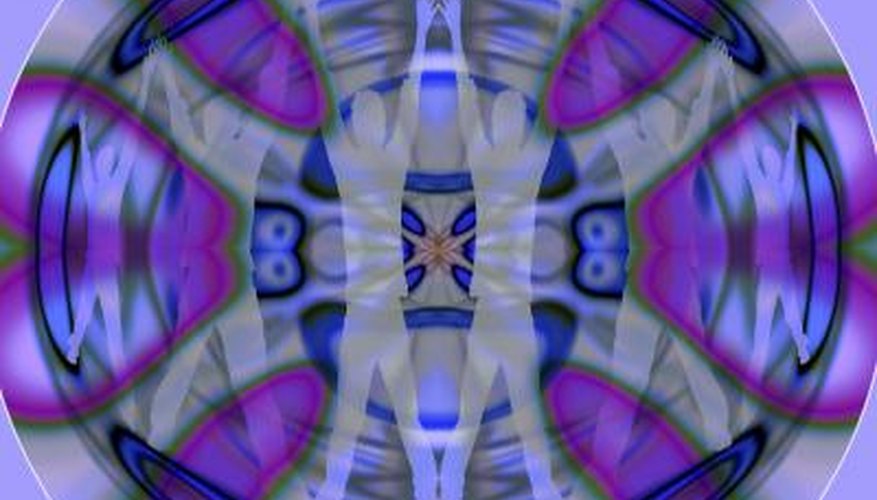
Creating a kaleidoscope effect in Gimp involves first making an image whose colours radiate brilliantly, as those of stained glass windows in cathedrals. You can use Gimp's Paintbrush or Pencil tools for creating this image. You can then apply Gimp's Rotation tool to revolve several duplicates of the image to produce the full kaleidoscope. Knowing how to create kaleidoscopes in Gimp lets you make abstract but symmetrical patterns, which are well suited for things like snowflakes, flowers and other natural and man-made structures with radial symmetry.
- Creating a kaleidoscope effect in Gimp involves first making an image whose colours radiate brilliantly, as those of stained glass windows in cathedrals.
- You can then apply Gimp's Rotation tool to revolve several duplicates of the image to produce the full kaleidoscope.
Click the button on the toolbar with the paintbrush icon to run the Paintbrush tool.
Click the colour swatch at the bottom of the toolbar to open the colour palette.
Click a brilliant colour from the palette. Colours that you'd see on a stained glass window are ideal for kaleidoscopes.
Click "OK" to close the colour palette, then click the mouse on the canvas and drag to draw with the colour you chose.
- Click "OK" to close the colour palette, then click the mouse on the canvas and drag to draw with the colour you chose.
Use the instructions from steps 2 through 4 to select and paint with at least five more brilliant colours. Paint any shape you like, but slender shapes work best for this approach of creating a kaleidoscope.
Click the toolbar icon shaped like a lasso to run the Fuzzy Select tool.
Drag a selection region around the shape you painted to select the shape, then double-click to finalise the selection.
Press "Ctrl" and "C" simultaneously to copy the shape to the clipboard, then press "Ctrl" and "V" simultaneously to paste a duplicate of the shape.
Click the toolbar button whose icon is shaped like a rotated square to run the Rotation tool.
Click the "X" icon at the centre of the duplicate, then drag to position the "X" at the bottom of the original shape. This changes the point around which you'll rotate the duplicate.
Drag on the duplicated shape to rotate it slightly away from the original shape.
Repeat steps 8, 10 and 11 to create more rotated duplicates of the original shape. Be sure to align the "X" icons of each duplicate at the same location to ensure a uniform image. This step is complete when the duplicated shapes form a complete circle.