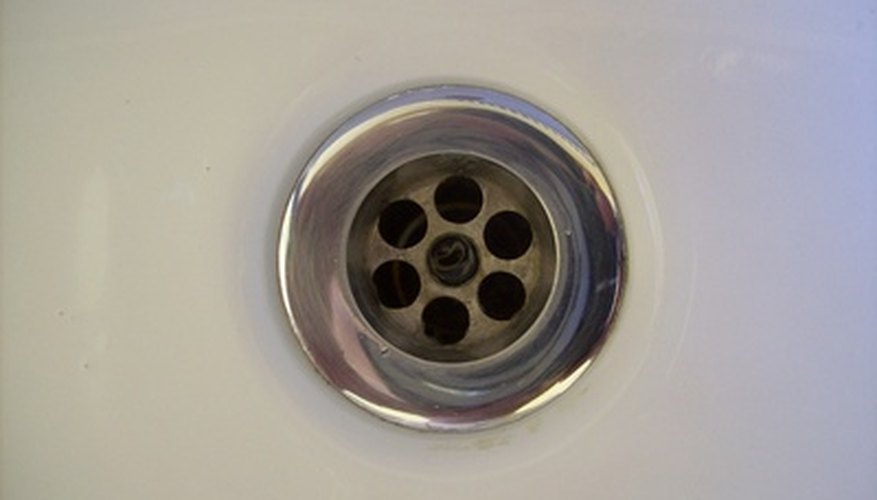
The bathroom sink drain collar, also known as the flange, is the metal (sometimes PVC) part of the drain visible at the bottom of the sink. Metal collars, particularly older ones, can sometimes rust and crack. This can be very bad as a cracked sink drain collar will let water leak out from the sink and onto your bathroom floor, resulting in water damage. Replacing a bathroom sink drain collar isn't particularly difficult and is a good project for a first-time DIY project.
- The bathroom sink drain collar, also known as the flange, is the metal (sometimes PVC) part of the drain visible at the bottom of the sink.
- Replacing a bathroom sink drain collar isn't particularly difficult and is a good project for a first-time DIY project.
Place a bucket beneath the p-trap under the sink. This is the curved portion of the sink drain pipe. Use a pair of pliers to loosen the couplings at either end of the trap. Slide the trap out of the plumbing. Invert it over the bucket and pour out the water inside.
Unscrew the jamb nut with the pliers. This is the large nut located just underneath the drain. Remove it by pulling it off the tail piece along with the large rubber washer beneath it. Unscrew the tail piece by turning it counterclockwise.
- Unscrew the jamb nut with the pliers.
- Remove it by pulling it off the tail piece along with the large rubber washer beneath it.
Tap the bottom of the drain collar from beneath with a rubber mallet until the drain comes out in the sink. If you don't have a rubber mallet, hold a block of wood just under the drain. Tap this with a hammer until the drain collar pops free.
Clean out the drain socket in the sink. Scrape away any old putty or caulk with a putty knife.
Turn the new sink collar upside-down. Insert the tube of caulk into your caulk gun. Trim off the edge of the caulk nozzle at the 1/4-inch mark. Squeeze a thin bead of caulk around the underside of the collar. Turn the collar right side up and insert it into the sink socket, slowly turning the collar to distribute the caulk.
- Clean out the drain socket in the sink.
- Squeeze a thin bead of caulk around the underside of the collar.
Place one hand on the drain collar or have an assistant hold it in place. Insert the tail piece into the underside of the drain collar beneath the sink and screw in place clockwise. Slide the rubber washer and jamb nut over the end of the tail piece and tighten with the pliers.
Wrap the threads on the end of the tail piece with plumber's tape. Do the same with the threads on the sewer inlet, the pipe that sticks out of the wall. Slip the p-trap back into place. Tighten the couplings.
- Place one hand on the drain collar or have an assistant hold it in place.
- Wrap the threads on the end of the tail piece with plumber's tape.
TIP
Don't try to wipe away any excess caulk. Let it dry, then cut away the excess with a sharp knife.