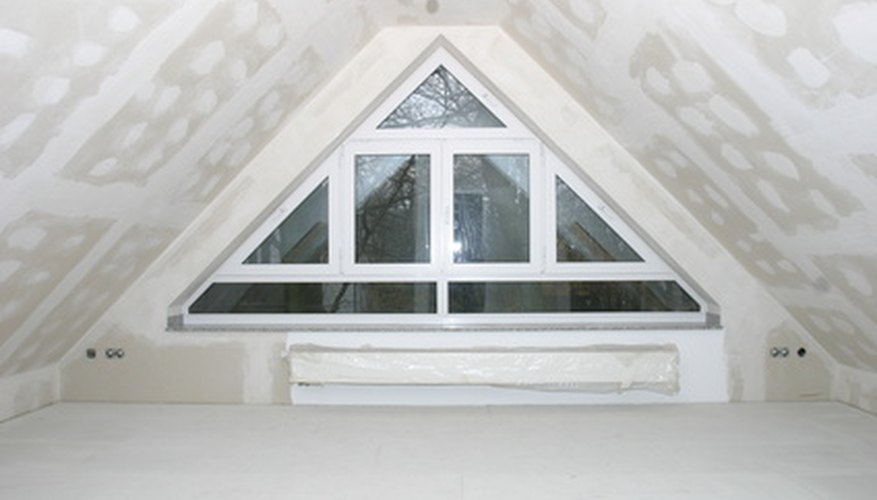
Applying plasterboard (drywall) to a loft falls in difficulty somwehere between working on walls and ceilings. This is because loft walls are for the most part installed at an angled pitch. If there are any vertical walls in the loft area, 1/2-inch width drywall is used, and for ceilings or angled walls, 5/8-inch width drywall is the norm. Wall drywall is attached with 1 5/8-inch drywall nails, and ceiling/angled wall drywall is attached with 1 5/8-inch drywall screws. Once installed, all drywall joints are covered with mesh tape and drywall compound, to seal the room.
- Applying plasterboard (drywall) to a loft falls in difficulty somwehere between working on walls and ceilings.
- If there are any vertical walls in the loft area, 1/2-inch width drywall is used, and for ceilings or angled walls, 5/8-inch width drywall is the norm.
Place drywall scaffolding close to the first area where the first piece of drywall will be installed (scaffolding can be purchased or rented). Hold the first piece of drywall against the pitched area of the loft. Start at one end of one side of the loft. Using a screw gun, attach the drywall to the ceiling joists with drywall screws, 8 inches apart.
Measure, mark and cut the next piece of drywall using a chalk line to create longer lines on the drywall. To cut the drywall, run a tradesman's knife all the way along the marked line. Bend the drywall on the other side of the drywall to the line--the drywall will break along the line. Run the tradesman's knife all the way along the inside of the break, and the drywall will be separated.
- Measure, mark and cut the next piece of drywall using a chalk line to create longer lines on the drywall.
- Run the tradesman's knife all the way along the inside of the break, and the drywall will be separated.
Move the scaffolding along to the area where the next piece of drywall needs to be installed. As before, measure, mark and cut the drywall as needed. Work your way along all pitched areas of the loft before moving on to any vertical wall areas (remember to use drywall nails to install the walls).
Apply drywall mesh tape to all drywall joints. Run the strip of tape along the joint, sticky side down, making sure that half the width of the tape is on each side of the joint. For drywall joints that stick out into the room (such as the corner of a built-in closet), apply corner beading over the length of the joint and attach it to the drywall with drywall nails.
Pour some drywall compound into a drywall tray. Using a 6-inch drywall knife, apply a layer of compound over all mesh tape areas, corner beading and screw/nail heads. Feather out the compound when covering the tape by smearing compound onto the wall past the edge of the tape, decreasing the thickness of the compound as you go. Wait for the compound to fully dry--usually 24 hours.
- Apply drywall mesh tape to all drywall joints.
- Using a 6-inch drywall knife, apply a layer of compound over all mesh tape areas, corner beading and screw/nail heads.
Sand all dried compound to free it of any ridges or bumps. Start with medium, then fine sandpaper. If any screw/nail heads or tape can be seen, apply a second layer of compound to these areas. After it dries, sand it again.
TIP
To cut out holes for receptacles or switch boxes, first mark the location of the box on the drywall, and use a drywall saw to cut out the box. If there are any ceiling areas in the loft, install drywall to the ceiling first before starting on the pitched areas and vertical wall areas. Mesh tape can be cut with scissors. When sanding, wear a dust mask. Drywall knives come in widths from 4 to 12 inches, but a 6-inch-wide drywall knife will suit most household drywall jobs.
WARNING
Drywall sheets are heavy, so be careful installing full-sized sheets. Even using a scaffolding, an extra pair of hands is very useful, especially when installing ceiling/pitched drywall.