Television demonstrations make it look so easy. The expert stands in front of a wall, loads up a paint pad with paint and starts applying it with the same type of action you would use to polish a wooden table. Two minutes later, the wall looks fantastic and you're convinced you can transform your hall in just a couple of hours. No more trying to smooth out brush marks or pick off broken brush hairs you only notice when the paint has dried rock hard. However, before rushing off to the do-it-yourself store, bear in mind paint pads have their pros and cons just like brushes and rollers.
Pros and Cons of Paint Pads
In "The Complete Decorating and Home Improvement Book," expert Mike Lawrence says people either "love or loathe" paint pads. On the plus side, he says, paint pads make it easy for the do-it-yourselfer enthusiast to apply paint smoothly and evenly with no risk of brush marks. He warns that paint pads apply less paint to the painting surface than either a brush or roller, so it may be necessary to apply an extra coat before the job is finished. If you want to give paint pads a try, follow these tips to help you achieve a good finish.
- In "The Complete Decorating and Home Improvement Book," expert Mike Lawrence says people either "love or loathe" paint pads.
- On the plus side, he says, paint pads make it easy for the do-it-yourselfer enthusiast to apply paint smoothly and evenly with no risk of brush marks.
Getting Started
As for any paint project, ensure the area you are painting is well prepared. Check the walls and ceiling for chips, cracks and indentations. If you find any, apply filler, allow it to dry and use fine-grade sandpaper to ensure the surface is completely flat and even. Vacuum the wall thoroughly using one of your cleaner's brush attachments. This will remove any dust, which might otherwise get into the paint as you apply it. If the painting area is particularly dirty, wash it down with a solution of mild detergent or sugar soap and warm water. Allow the surfaces to dry thoroughly.
- As for any paint project, ensure the area you are painting is well prepared.
- If you find any, apply filler, allow it to dry and use fine-grade sandpaper to ensure the surface is completely flat and even.
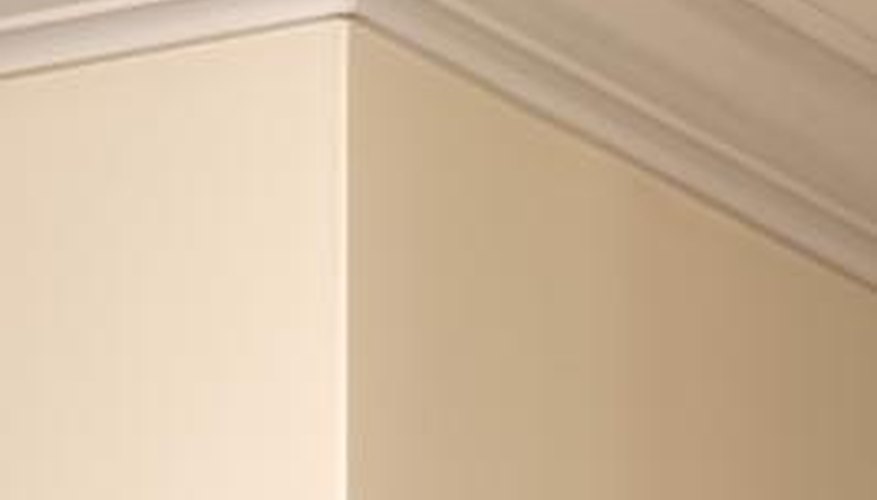
Cutting In
Cutting in along the edge between the ceiling and the walls is the first task to perform. Also do this with a small brush as you would if using a roller. Note that paint pad sets often include special edging pads. These have small wheels to guide the pad along the surface, which sit at a right angle to the painting surface. To load the edging pad, pour some paint into the applicator tray and run the pad backwards and forwards over the ridged loading roller.
- Cutting in along the edge between the ceiling and the walls is the first task to perform.
- These have small wheels to guide the pad along the surface, which sit at a right angle to the painting surface.
Painting Large Areas of Wall and Ceiling
Load your large paint pad in the same way as you loaded your edging paint pad. Apply paint to the walls and ceiling in a series of overlapping parallel stripes. Ensure you buy pads for operation with an extension pole, as this makes painting the ceiling and the tops of walls much easier. Allow the first coat of paint on walls and ceilings to dry thoroughly before applying the second.
- Load your large paint pad in the same way as you loaded your edging paint pad.
- Ensure you buy pads for operation with an extension pole, as this makes painting the ceiling and the tops of walls much easier.
Painting Trim
Use a small paint pad to paint trim such as baseboards, coving, door and window frames. Be sure to apply the paint along the direction of the wood grain. The website DIYnot.com indicates it is important to finish with a light vertical stroke when applying oil-based paint with a pad as this prevents marks showing when the surface is dry. Allow the paint on the trim to dry thoroughly before applying the second coat.
- Use a small paint pad to paint trim such as baseboards, coving, door and window frames.
- Be sure to apply the paint along the direction of the wood grain.
Cleaning Your Paint Pads
Once you've finished, remove excess paint from the pads by banging them on a sheet of newspaper or an old cloth. To clean pads used to apply water-based paint, wash in warm water and mild detergent. Pads used to apply oil-based paint, clean with a brush cleaner initially and then wash in warm water and mild detergent. Rinse all the pads thoroughly before allowing them to dry naturally.
- Once you've finished, remove excess paint from the pads by banging them on a sheet of newspaper or an old cloth.
- Pads used to apply oil-based paint, clean with a brush cleaner initially and then wash in warm water and mild detergent.