Many older houses that have lath and plaster walls often have little or no insulation in the walls. Insulating the exterior walls in your home can help lower your heating and cooling costs by making your home more energy-efficient. You can insulate your existing lath and plaster walls by using blown-in cellulose insulation, which eliminates the need for removing plaster from the walls. You'll need to make some advance preparations, but once you've taken these steps, an insulation blower will help the process move along quickly.
- Many older houses that have lath and plaster walls often have little or no insulation in the walls.
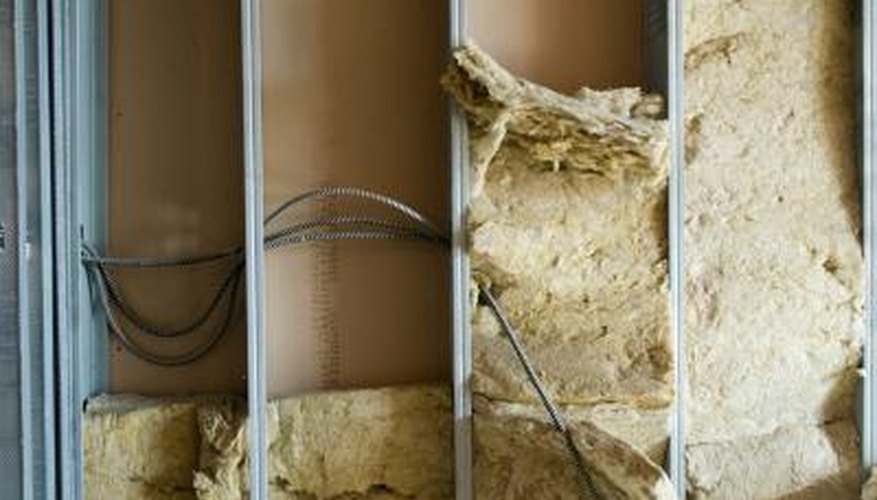
- You can insulate your existing lath and plaster walls by using blown-in cellulose insulation, which eliminates the need for removing plaster from the walls.
Before you begin, check with an electrician to make sure your house does not contain knob-and-tube wiring that is still in use. Insulation installed around active knob-and-tube wiring is a fire hazard.
Use a stud finder to locate the studs on all exterior walls. Mark the location of the studs with a pencil.
Drill holes into the walls through the plaster and the lath, using a hole saw attachment on your drill. The holes should be located near the ceiling and halfway between two studs. The diameter of the holes should be slightly larger than the insulation blower nozzle.
Fill the insulation blower with insulation according to the manufacturer's recommendations, and then insert the nozzle into a hole in the wall. Wrap a rag around the hose where it enters the wall to form a seal and prevent insulation from blowing out of the hole.
- Drill holes into the walls through the plaster and the lath, using a hole saw attachment on your drill.
- Fill the insulation blower with insulation according to the manufacturer's recommendations, and then insert the nozzle into a hole in the wall.
Turn on the insulation blower, and fill the wall cavity with insulation until the wall is completely filled. The blower will stop blowing insulation when the wall is filled. Turn off the blower.
Move on to the next wall cavity, repeating Step 2 until all wall cavities have been insulated. Do not insulate wall cavities that contain light fixtures or chimneys, as insulation in these areas will create a fire hazard.
Fill the holes with expanding foam insulation. When the insulation is dry, cut off any excess so the foam is flush with the wall, and then cover the foam patch with drywall compound to create a smooth surface. Paint over the patched holes to match the rest of the wall.