While fluorescent lighting is more cost-effective and energy-efficient than incandescent lighting, it tends to make humming or buzzing noises. According to Anthony Tori, a licensed electrician, although noisy fluorescent lighting fixtures are annoying, they are not dangerous and can be fixed by replacing the fixture ballast. With a few standard tools, replacement parts and some electrical manipulation, you can silence noisy fluorescent lighting in minutes.
Disconnect the power from the light fixture and switch off the power at the main circuit box.
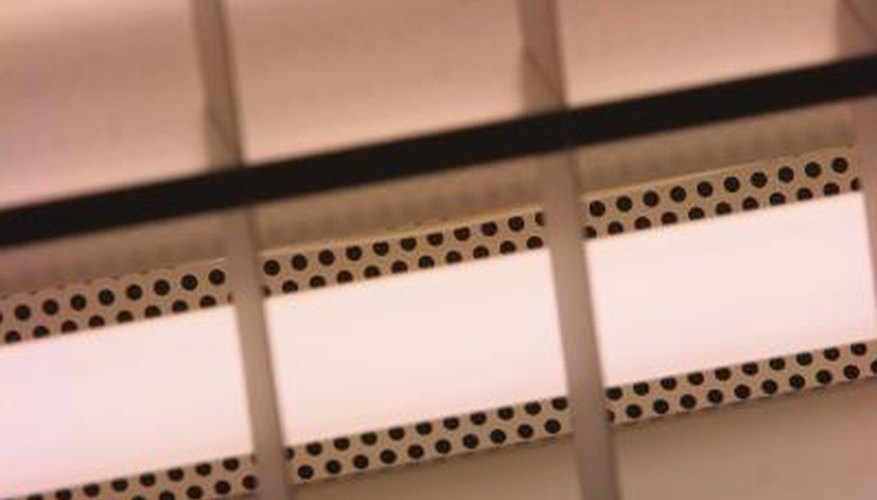
Remove the florescent tubes and open up the fixture to expose the ballast compartment.
Use a nut driver, socket wrench or pliers to remove the ballast compartment cover if it's attached with nuts. If it's attached with clips or just snapped into place, remove it with a screwdriver or your hands. The internal wiring and light ballast will now be exposed.
- While fluorescent lighting is more cost-effective and energy-efficient than incandescent lighting, it tends to make humming or buzzing noises.
- Use a nut driver, socket wrench or pliers to remove the ballast compartment cover if it's attached with nuts.
Locate the ballast. The ballast will have three to eight wires ranging in colour from red, blue, white, black or green. Trace the wires until you discover the wire nuts (these look like little cones and are used to connect wires with the same colours).
Disconnect or snip wires with wire cutters until all wires are no longer attached. If your particular florescent light has no wire nuts, snip the wires approximately 12 inches from the halfway point of the fixture on both sides.
Hold the ballast in place with one hand, and remove the nut securing the ballast to the fixture (there will be either one or two nuts) with a nut driver or socket wrench.
- The ballast will have three to eight wires ranging in colour from red, blue, white, black or green.
- Hold the ballast in place with one hand, and remove the nut securing the ballast to the fixture (there will be either one or two nuts) with a nut driver or socket wrench.
Lower the side of the ballast that was held by the nut, and slide it toward that side to remove it (for a ballast with one nut). When the nuts are removed for a two-nut ballast, the ballast will easily drop out of place.
Secure the new ballast in the fixture by attaching it with the nuts with a nut driver or socket wrench. Make certain the like-coloured wires face the end of the fixture with matching-coloured wires.
Use a wire stripper (usually found on your wire cutters) to strip any electrical wiring back a half-inch on the new ballast or fixture that's encased in the protective covering. Twist the matching-coloured wires from the fixture and the ballast together and secure them with wire nut connectors.
Replace the ballast cover with nuts or clips, or snap back into place. Secure the florescent tubes and fixture cover back into place, and restore power to the fixture.
TIP
When purchasing a replacement ballast, make sure to take note of the wattage, length, type and number of florescent bulbs in your fixture. You may want to take the old ballast with you to the store to make sure you get a correct match.
WARNING
Electricity is dangerous. It is imperative that the electrical current to the light fixture is turned off. Make sure to connect only like-coloured wires together. Make sure when securing the wire nut connectors that they are twisted well enough to keep the wires in place.