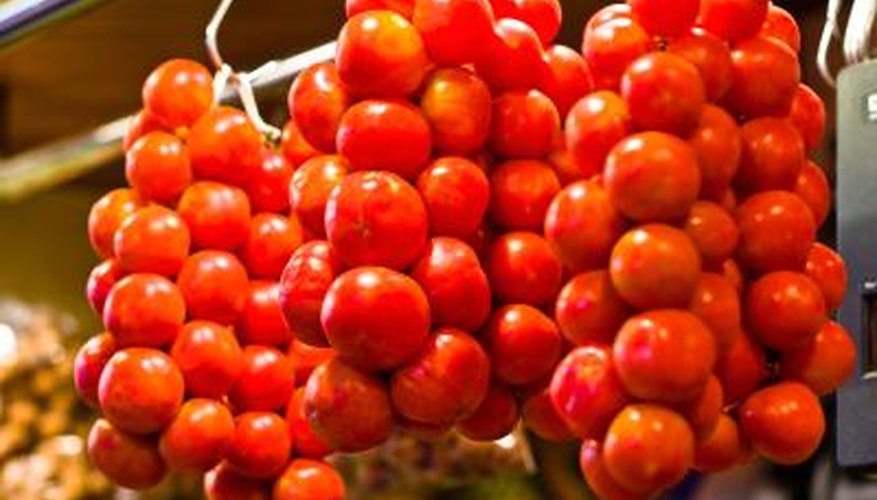
As a cherry tomato, Tom Thumb matures quickly. While large tomatoes take up to four months to ripen, cherry varieties are ready for harvest in half that time. Although this type of tomato develops with a sprawling habit, according to the Koanga Institute in New Zealand, which works to preserve plants' genetic integrity, Tom Thumb requires no pruning or staking. It's also disease resistant and it seems its only disadvantage is its tendency to split under heavy rain. Grow Tom Thumb seedlings under the same conditions you'd raise other tomato plants.
- As a cherry tomato, Tom Thumb matures quickly.
- Grow Tom Thumb seedlings under the same conditions you'd raise other tomato plants.
Select nursery seedlings that haven't flowered or set fruit, yet. If you can easily pull them out of the nursery flats, check their root system. Get plants that have whitish, not dark or discoloured, roots. Choose seedlings with four to six leaves.
Harden your seedlings off over the course of a week. Keep their soil moist as you gradually expose them to the outdoors for longer periods until they're spending all day and night outdoors in their nursery flats. If they stayed outdoors in the nursery, skip this step.
Break up the ground to a depth of 6 inches. Use a pickaxe and shovel or rent a rototiller. Remove weeds and large debris, such as rocks, that interfere with root development.
Till 5 cm (2 inches) of compost into the ground. At the same time, incorporate 1.4 kg. per square foot of a 5-10-10 fertiliser into the soil. Rake the surface to a smooth bed.
- Harden your seedlings off over the course of a week.
- Till 5 cm (2 inches) of compost into the ground.
Dig holes as wide as the seedlings' root systems. Make them deep enough so that when you transplant your Tom Thumb tomato, its first set of leaves is barely above the soil surface. Space two or more seedlings 90 cm (3 feet) apart.
Plant the Tom Thumb seedlings in the centre of the holes and back fill them with topsoil. Firm the ground around the base of each plant with your palms to remove air pockets.
- Dig holes as wide as the seedlings' root systems.
- Plant the Tom Thumb seedlings in the centre of the holes and back fill them with topsoil.
Irrigate your tomatoes at transplanting. Continue to give them 2.5 cm to 5 cm (1 to 2 inches) of water a week to keep the soil moist without turning it soggy. Apply all the water at once instead of dividing it into short irrigation sessions throughout the week.
Place a 7.5 cm (3 inch) deep layer of mulch -- wood chips, shredded bark, dead leaves -- around the base of each established seedling to conserve moisture and reduce weeds. If any foreign plants sprout, pull them right away. Replenish the mulch as it decomposes through the growing season.
- Place a 7.5 cm (3 inch) deep layer of mulch -- wood chips, shredded bark, dead leaves -- around the base of each established seedling to conserve moisture and reduce weeds.
Apply fertiliser shortly after the first Tom Thumb tomatoes appear on the plant and are about one-third of their mature size. Broadcast the fertiliser about 7.5 cm (3 inches) from the base of the plants, a method known as side dressing. Use 2.3 kg. of a 10-10-10 formula per 100 feet of tomato rows. Water the plants thoroughly after fertilisation. Repeat this step right after you harvest the first fruit and again one month later.
Harvest Tom Thumb cherry tomatoes as they ripen to an even red. Pick the fruit before they begin to get soft, a sign they're overripe. Store all tomatoes you don't eat right away at room temperature.
TIP
If you don't have the space for your Tom Thumb tomatoes to sprawl, insert a 182 cm (6 foot) tomato stake 30 cm (1 foot) into the ground and 7.5 cm (3 inches) away from the plant. Tie the seedling loosely with string and prune its side shoots. Retain only the main stem and two others to produce fruit.