OSB, or oriented strand board, is made from wood scraps glued and pressed together. This type of wood construction is similar to fiberboard and low-quality plywood. OSB is engineered for water resistance and has a smooth finish. OSB is typically used in exterior construction, and is rarely used indoors. Applying plaster over OSB can be somewhat tricky because of the smooth texture of the wood. Proper preparation of roofing paper and wire mesh will create a rough texture so the plaster will adhere to the walls.
- OSB, or oriented strand board, is made from wood scraps glued and pressed together.
- OSB is engineered for water resistance and has a smooth finish.
Cover the OSB with roofing felt. Staple the felt to the boards with a staple gun.
Measure the part of the OSB board that you want to cover with plaster. Cut metal mesh to equal this measurement. Cover the entire OSB board with metal mesh. Nail the mesh to the wall along the wall studs.
- Measure the part of the OSB board that you want to cover with plaster.
- Nail the mesh to the wall along the wall studs.
Spray the walls with adhesive primer to help the plaster stick to the OSB board. Allow the primer to dry for two hours before proceeding.
Mix the plaster at a ratio of one-to-one with water until creamy and about the consistency of thick mud.
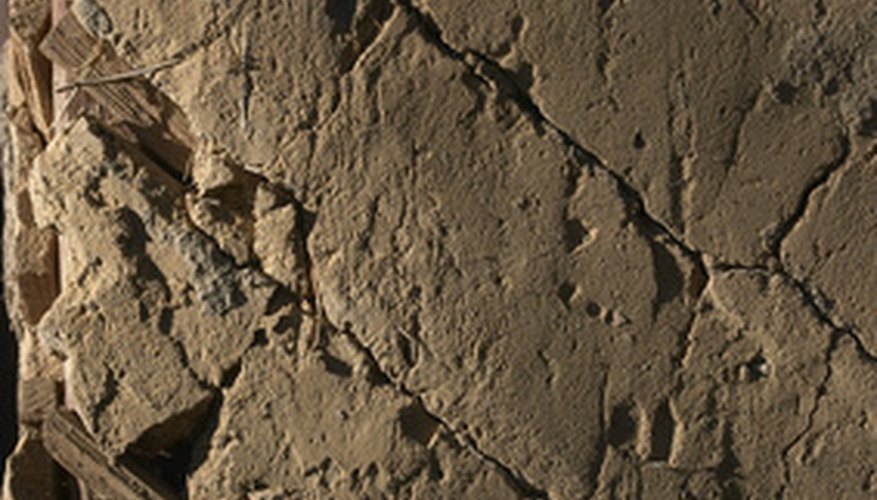
Apply the plaster to the walls with a float trowel. Work from the bottom up. Place a glob of plaster on the trowel, then smooth the plaster glob out from the centre until the plaster is flat and even. Repeat until the entire mesh wall is covered. The initial coat should be thick enough to hide all the mesh's texture. If you do not cover the mesh texture, the plaster will not be thick enough and will easily crack and crumble.
- Apply the plaster to the walls with a float trowel.
- Place a glob of plaster on the trowel, then smooth the plaster glob out from the centre until the plaster is flat and even.
Scratch the surface of the first coat of plaster with a notched trowel to roughen the surface and increase adhesion between the layers. Scratch the coat about two hours after applying the plaster while it is stiff but still wet. Allow the coat to dry overnight.
Apply a second coat of plaster to the walls that is approximately 1/8" thick. Fill in any remaining scratch coat texturing and add enough plaster to make a smooth surface. Allow the plaster to cure overnight.
Splash the plaster with water after it has cured. Go over the plaster with a clean, flat float. Follow this by running a large paintbrush over the walls. This will even the finish of the plaster and fill in small holes. Allow the plaster to cure for an additional 24 hours.
- Apply a second coat of plaster to the walls that is approximately 1/8" thick.
- Splash the plaster with water after it has cured.
TIP
If desired, add one final 1/8th of an inch thick coat for texture. Use swirled motions to apply the plaster or a notched trowel.