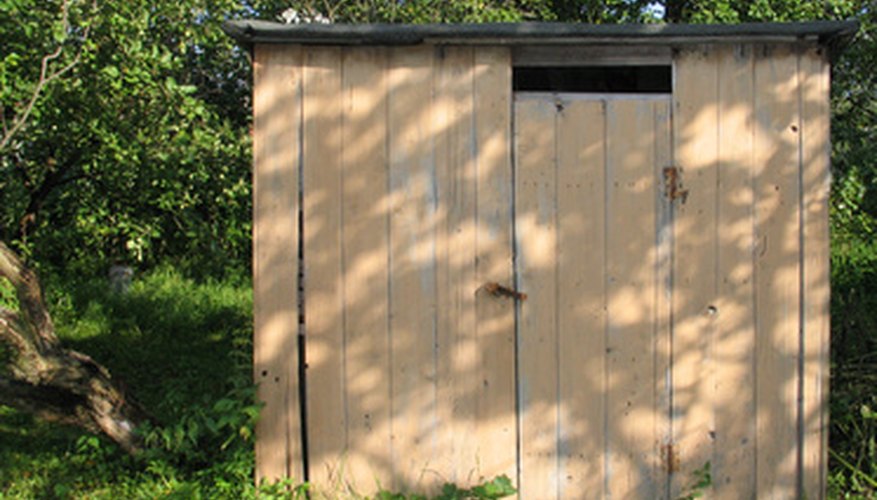
A shed outside of the house provides space to keep anything that might get damaged because of the weather. Sometimes the location of the shed is no longer practical and it needs to be moved. Putting a shed on wheels allows the shed to be moved to a different spot. It may need to be moved because at its current location it may flood throughout the year, it is in the way of other home expansion projects or it just needs to go somewhere else.
- A shed outside of the house provides space to keep anything that might get damaged because of the weather.
Remove everything from the shed as this will decrease the weight of the shed. Check for cracks or damages in the shed itself and fix them before moving on.
Attach wooden braces on the outside of the walls to the studs. Put wooden braces over the windows and doors as well because according to the website Secrets of Shed Building, "Any distortion in the window frame may crack the glass; distortion in the building's frame will weaken nailed connections."
Dig around the base of the shed with the shovel so that you can access the corners and the bottom of the shed. Place one jack on each corner, making sure they are on flat ground. Start jacking the jacks up to lift the shed off of the ground.
Attach long boards or pipes underneath the shed and run the bracing straps height-wise the full way around the shed, wrapping them around the long boards or pipes. Do this for both sides of the shed and then connect them at the top with another bracing strap.
- Dig around the base of the shed with the shovel so that you can access the corners and the bottom of the shed.
- Do this for both sides of the shed and then connect them at the top with another bracing strap.
Lift the shed up with the crane or backhoe, holding on to the top bracing strap.
Move the trailer into place centred underneath the shed. If using weight-bearing wheels, attach one wheel to each corner using the heavy-duty nails or screws.
TIP
Depending on how high you can raise the shed with the jacks alone, you may be able to skip step 5 and just slide the trailer or weight-bearing wheels underneath without the crane or backhoe.
WARNING
Be careful if working near or underneath the shed when it is jacked up.