The depth of a tattoo needle is the most important element in the tattooing process. If the needle goes too far into the skin, it can cause infection and blood poisoning. For tattoo novices, it is vital to know what the proper depth is, and what the signs are of having achieved it.
- The depth of a tattoo needle is the most important element in the tattooing process.
- For tattoo novices, it is vital to know what the proper depth is, and what the signs are of having achieved it.
Educate yourself. You must first be familiar with the layers of skin and how far into the skin you need to go. There are seven layers of skin, but only two that matter when tattooing; the epidermis and the dermis. The epidermis is the outer layer of skin, and the dermis is the layer of skin the tattoo needle should be injected into.
Know how far to go. The tattoo needles need to go between 1 and 2mm into the skin in order to reach the dermis. If you go any farther than that, it can cause unnecessary pain to the person receiving the tattoo. It is can also cause blood poisoning, due to the ink being injected too far into the body and bloodstream.
- The tattoo needles need to go between 1 and 2mm into the skin in order to reach the dermis.

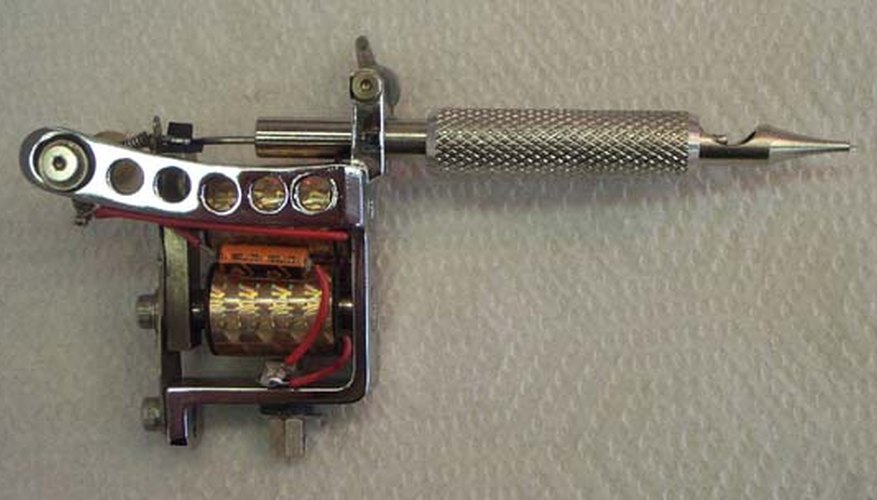
Set your needle. A tattoo needle needs to stick out of the gun about 1/16 to 1/32 inch. These measurements will vary from person to person, as everyone's body is different. Your needle and tube need to match; if you are using a three-needle shader, you must also use a three-needle shader tube.
Practice your depth. Before tattooing a person, it is recommended that you first test the depth of the needle on a piece of fruit. If the fruit becomes torn apart, you know your needle depth is too much. The same is true when tattooing a live person. If the needle depth is too much, there will be an excessive amount of blood coming back out of the perforations the needle is making.
Find an apprenticeship. The best way to learn what you need to know is by going to a local tattoo artist in your area and asking if her will take you on as an apprentice. If you attempt to find information on the web, you will find there is very little available. No one wants to be responsible for giving information to a novice who may not take heed of their warnings. In addition, reputable tattoo artists will not want to teach just anyone and reveal what works best for them. By presenting yourself in person to a tattoo artist, your chances of having your questions answered are higher than if you were to post them in forums.
- Before tattooing a person, it is recommended that you first test the depth of the needle on a piece of fruit.
- The best way to learn what you need to know is by going to a local tattoo artist in your area and asking if her will take you on as an apprentice.