You have just bought or received a Little Tikes playhouse.
Your child is likely to love this gift, just make sure you have some time to put it together, and a partner to help with the roof and other assembly. Don't cut it short on time as there are a lot of production steps and you don't want anything wrong, out of place or not finished when your child lights up when seeing the gift for the first time and runs to use it.
Tools and pieces
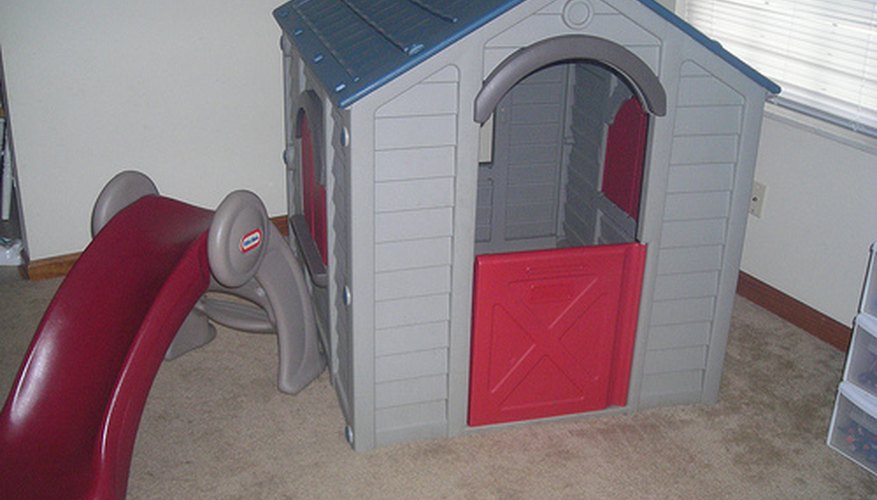
These instructions are for the Cozy Cottage Playhouse.
They also cover the basics for more elaborate models that have more bells and whistles. By looking at the extras (faucets, oven burners) and the bulk pieces, you can figure out how to attach the extras for the more elaborate models.
- Make starter holes by placing the 1 1/2-inch screws in roof holes (2 holes on each roof piece) and hit with hammer.
- (
- These instructions are for the Cozy Cottage Playhouse.
- By looking at the extras (faucets, oven burners) and the bulk pieces, you can figure out how to attach the extras for the more elaborate models.
To construct the playhouse, you will need a hammer, Phillips-head screwdriver, drill, block of wood, and protective eyewear.
The Cozy Cottage contains 16 1 1/2-inch plastic screws, 6 1-inch plastic screws, 14 dark-coloured screw caps, 8 light-coloured screw caps, a tube that looks like it could double as Luke Skywalker's light sabre, a floor threshold with notched openings at both ends, a faucet, left and right kitchen playhouse pieces, left and right living room playhouse pieces, two roof pieces, two tables pieces (one with food), a gate door, and a doghouse piece.
- Make starter holes by placing the 1 1/2-inch screws in roof holes (2 holes on each roof piece) and hit with hammer.
- (
The roof
Make starter holes by placing the 1 1/2-inch screws in roof holes (2 holes on each roof piece) and hit with hammer.
- Make starter holes by placing the 1 1/2-inch screws in roof holes (2 holes on each roof piece) and hit with hammer.
- (
(Eyewear should always be used when using a hammer.) Put the two roof pieces together with one person holding the pieces together and one using 1 1/2-inch screws and dark-coloured screw covers. Put screws in one side of roof and then rotate roof and do the other side.
- Make starter holes by placing the 1 1/2-inch screws in roof holes (2 holes on each roof piece) and hit with hammer.
- (
Gate door
Holding the right living room piece on its side so there is a tunnel opening between the two sides of the piece, line the gate door up with its spot which will be on top of tilted living room piece (on right side when looking at the outside of the piece).
- Make starter holes by placing the 1 1/2-inch screws in roof holes (2 holes on each roof piece) and hit with hammer.
- (
Push the door into place.
Lock piece into place using block of wood and hammer. Hit piece where it fits into living room piece.
- Holding the right living room piece on its side so there is a tunnel opening between the two sides of the piece, line the gate door up with its spot which will be on top of tilted living room piece (on right side when looking at the outside of the piece).
- Hit piece where it fits into living room piece.
Living room
Standing right living room piece up properly, push left living room piece into right piece at top and bottom. Install 1-inch screws into pole on left side of left living room piece.
- Standing right living room piece up properly, push left living room piece into right piece at top and bottom.
- Install 1-inch screws into pole on left side of left living room piece.
Put table through living room window and put in place by pushing down on table.
Screw table into place into base of living room pieces by using 1 1/2-inch screw and a light-coloured screw cover.
Kitchen
Put the left and right kitchen pieces together by pushing together at top and near bottom. Install 1" screws with light-coloured screw covers.
Put the kitchen table (with food on it) through the window, pushing table into place on kitchen pieces.
- Put the left and right kitchen pieces together by pushing together at top and near bottom.
- Put the kitchen table (with food on it) through the window, pushing table into place on kitchen pieces.
- Make starter holes by placing the 1 1/2-inch screws in roof holes (2 holes on each roof piece) and hit with hammer.
- (
Screw table into place onto kitchen pieces with a light-coloured screw cap covering it.
More exterior work
Put the doghouse piece (with doghouse facing outward) in place by snapping it into place on kitchen piece.
- Put the doghouse piece (with doghouse facing outward) in place by snapping it into place on kitchen piece.
- Make starter holes by placing the 1 1/2-inch screws in roof holes (2 holes on each roof piece) and hit with hammer.
- (
Snap the other end of doghouse piece into living room piece. The kitchen and living room pieces should be connected. Put 1" screws in place with light-coloured cover in upper left and right portions of the doghouse piece.
Finishing exterior
Put the floor threshold in place under the gate door.
- Put the floor threshold in place under the gate door.
Put the left living room piece into slot in floor threshold.
Put the roof in place. Install the four 1 1/2-inch screws with covers where the two roof halves meet. Then install remaining 4 screws.
Finishing touches
Install faucet into kitchen table piece in window.
Place porch light stickers on both side of front door. Place postman sticker over mail slot.
Place dog sticker in doghouse slot. Put clock sticker in grandfather clock. Place muffin sticker in microwave window. Place microwave buttons to right of muffin sticker. Place oven controls over conventional oven. Place turkey sticker in oven window spot.
- Install faucet into kitchen table piece in window.
- Place muffin sticker in microwave window.
Place burner stickers on circles next to sink. Place triangle burners/food sticker next to circular burners.