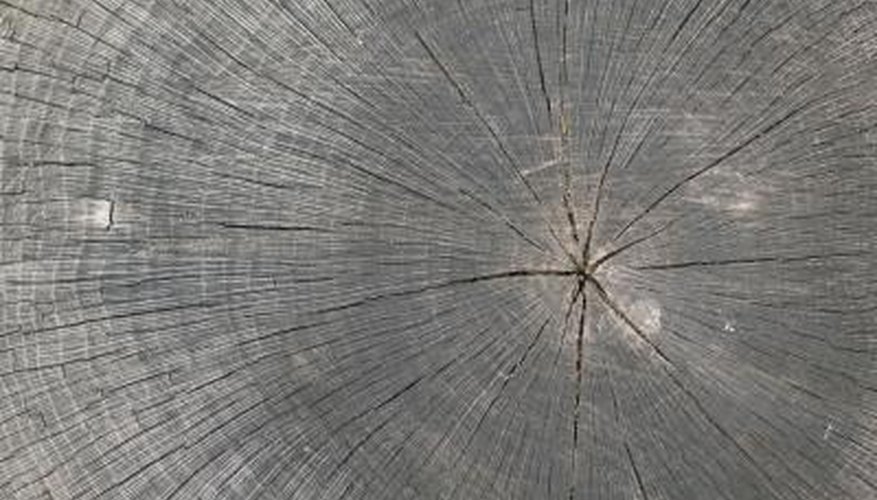
Lumber end grain is typically raw and exposed, sometimes even in pretreated wood. This leaves open pores allowing moisture and cold or warm air to warp the lumber and cause extensive damage if this area of the wood is left exposed for too long. Applying end sealing compound of some sort will fully protect your wood used in both interior and exterior applications.
Sand The Grain First
Use an electric sander to prepare the end grain and make it more sealer friendly. A high-grit sandpaper should be used. Start with lower grit first on rougher end grain and work up to 180 to 320 grit for best results. The idea is to close all visible gaps and cracks if possible. The thicker and older the wood is, the more cracks you will see in the end grain. Some aged wood just can't be sanded enough, so in those cases don't overdo it. Sand as much as you can to make the end grain as smooth as possible.
- Use an electric sander to prepare the end grain and make it more sealer friendly.
Pick Your Sealer
Sanding sealer and shellac are the two most highly recommended products you can use to seal end grain. However, some carpenters suggest a mixture of equal parts water and wood glue. The latter is more appropriate for very rough end grain that is permeated by cracks due to age or excessive dryness. This typically happens with old wooden stairs or picnic tables that need to be recoated with stain.
- Sanding sealer and shellac are the two most highly recommended products you can use to seal end grain.
- The latter is more appropriate for very rough end grain that is permeated by cracks due to age or excessive dryness.
Apply the First Coat
Use a staining brush to apply a smooth, thin first coat to the end grain. For existing furniture end grain you should place the object on a set of sawhorses or lay it down on some two by fours spread out over a dust sheet. If you are sealing loose lumber you should also use sawhorses and a dust sheet to catch spillage. Use light brush strokes and apply the sealer material evenly.
- Use a staining brush to apply a smooth, thin first coat to the end grain.
Recoat as Needed
Once the first coat of sealer dries, spread another even coat over the end grain. Follow the directions on the can for best results, but most applications require at least an hour of drying time. The rougher the grain the more additional coats will be required. If two coats aren't quite enough keep painting on new coats until the end grain is fully sealed.
- Once the first coat of sealer dries, spread another even coat over the end grain.
- If two coats aren't quite enough keep painting on new coats until the end grain is fully sealed.