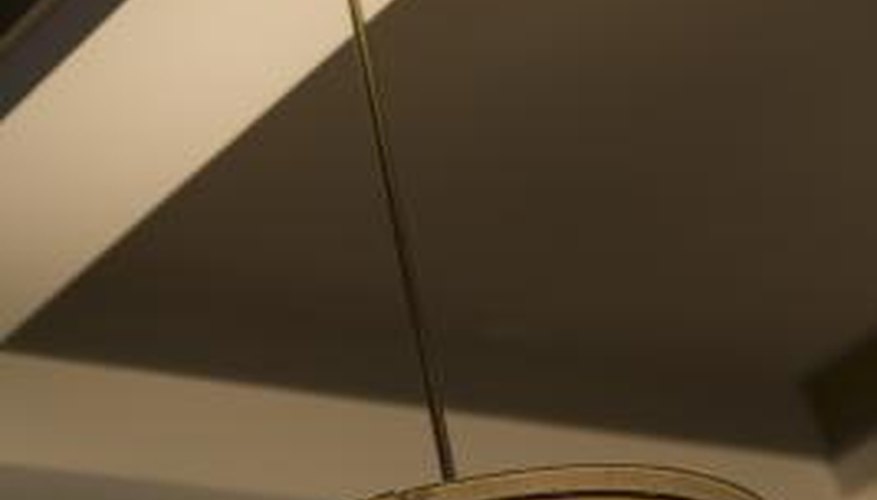
Decorative ceiling beams are non-load-bearing beams typically created by covering a foam core with wood veneer. This faux beam, connected to the ceiling with an adhesive or screws and nails, gives a room the appearance of having actual wooden beams without the high cost of real beams and the supports or reinforcing needed to hold them in place. There are no specialised tools needed to remove decorative beams. The process is simply the reversal of the installation process: remove the attachment points, remove the beam itself then remove the mounting board.
Climb a ladder and examine a beam closely where it meets the ceiling. Look for the attachment areas between the beam and the ceiling or joists: most decorative beams use nails or screws driven through the beam and countersunk beneath the surface of the beam to blend in but occasionally installers glue lightweight beams made of foam directly into place. Look for small patches of discolouration along the beam where the installers covered countersunk screws or nails with wood putty.
- Decorative ceiling beams are non-load-bearing beams typically created by covering a foam core with wood veneer.
- Look for the attachment areas between the beam and the ceiling or joists: most decorative beams use nails or screws driven through the beam and countersunk beneath the surface of the beam to blend in but occasionally installers glue lightweight beams made of foam directly into place.
Ask a helper to help hold the beam in place as you work your way down its length to prevent it from crashing down. Pull the connecting nails or screws from the beam using a claw hammer or screwdriver. Dig around the ends of the nails using a utility knife until you can grasp the nail heads with the claw of the hammer and pull them free. Unscrew and remove the screws from the beam if screws were used. Cut the foam into sections using the utility knife if it was glued directly in place and pull it free.
Pull the beam from the length of wood that it's attached to and that runs across the ceiling; this will likely be a 2-by-4 screwed into the ceiling joists.
Unscrew the length of wood using the screwdriver and pull it from the ceiling to complete the removal of the decorative beam.
- Ask a helper to help hold the beam in place as you work your way down its length to prevent it from crashing down.
- Unscrew the length of wood using the screwdriver and pull it from the ceiling to complete the removal of the decorative beam.
Use a putty knife to remove any foam remaining on the ceiling from faux beams. Brush any remaining adhesive with adhesive remover. Allow the remover to sit in place five minutes to penetrate the adhesive, then wipe the adhesive and remover from the ceiling with a clean piece of cloth.
TIP
Paint the ceiling after removing the beam so its original placement won't be noticeable.
WARNING
Wear safety goggles and a face mask during the removal process to avoid eye or lung irritation from falling debris or dust particles.