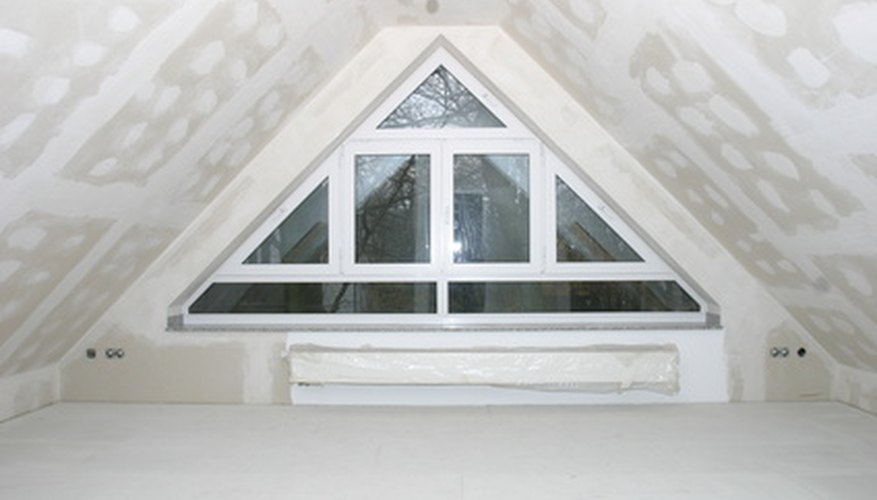
Many homeowners have converted attic space into living space in their homes.
Attics tend to be different from rooms on lower levels because the attic is the roof of the home and the walls are often angled. While the angles are interesting and different, they can be difficult for the arrangement of furniture and art and it can be hard to decide which walls are ceiling and which are walls when you are painting or hanging wall paper. If you decide to wallpaper the angled walls, there is the added challenge of keeping the paper stuck to the wall until the glue dries.
Drop a chalk line in the centre of the main wall that is vertical. Your walls should be in good shape with all holes filled, all outlet and switch covers removed and a fresh coat of primer painted where you want to wallpaper. It is important to start from the middle and work toward the corners as the corners are unlikely to be straight. This will allow your pattern to match.
- Many homeowners have converted attic space into living space in their homes.
- It is important to start from the middle and work toward the corners as the corners are unlikely to be straight.
Cut a length of pre-pasted wallpaper that is at least 30 cm (12 inches) longer than you need. Roll the piece of paper backward so the adhesive side is out. Immerse the wallpaper into the water to activate the adhesive. Bring the adhesive sides together but do not fold or crease the wallpaper. Set it aside to book. Booking is the word used for activation of the adhesive. Each paper has a recommended booking time printed on the packaging.
- Cut a length of pre-pasted wallpaper that is at least 30 cm (12 inches) longer than you need.
- Roll the piece of paper backward so the adhesive side is out.
Peel the wallpaper apart and position the paper about 7.5 cm (3 inches) above the ceiling joint. Position the paper exactly against the chalk line so that the paper is level and straight. Smooth the paper along the ceiling joint first, so the paper will not fall back on you as you work. Use the brush to push bubbles from the centre out toward the edges until the paper is well sealed to the wall.
- Peel the wallpaper apart and position the paper about 7.5 cm (3 inches) above the ceiling joint.
- Position the paper exactly against the chalk line so that the paper is level and straight.
Cut along the top and bottom edges using a sharp utility knife and straight edge. Run a seam sealer wheel down each seam to press the seam firm to the wall after the adhesive has set up for 15 to 20-minutes. Keep the wallpaper clean as you work by wiping it off with a clean sponge.
Match the pattern of the wallpaper before cutting the next piece. Make sure your piece has excess at both the top and bottom. Roll the wallpaper backward and immerse. Book the paper. Align the paper so that the pattern matches exactly and so the seam is tight. Keep in mind that wallpaper often shrinks slightly so you want a slight excess at the seam. Brush, smooth and seal. Trim the edges and clean.
- Match the pattern of the wallpaper before cutting the next piece.
- Align the paper so that the pattern matches exactly and so the seam is tight.
Paper the angle above the vertical wall in a companion paper to the first paper. This solves the problem of trying to match the pattern on the angle. Usually the joints at the angles are not straight in both directions. By using a companion paper, you can paper the angle as a new wall. Start your seam in the centre. Snap a line based on measuring across the space. You may need to hold paper to the angled ceiling as the adhesive grabs. Usually this is best done with one person holding while the other smooths.
- Paper the angle above the vertical wall in a companion paper to the first paper.
- By using a companion paper, you can paper the angle as a new wall.
Add wood trim or a thin decorative border along the joint line to cover any discrepancies. This will also give you crisp edges and make the joints appear straight.
TIP
Make sure you prep your walls with a primer designed for wallpaper before you begin. This will help the wallpaper adhesive to stick to the wall on the angle.