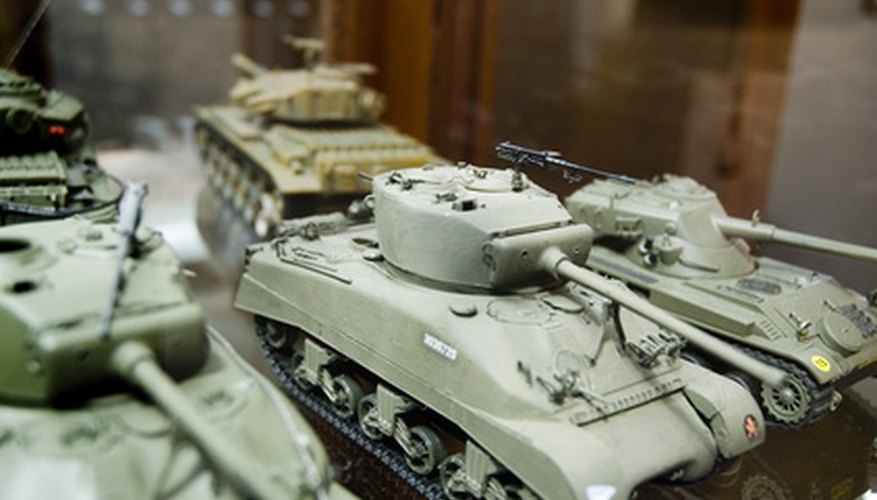
Brass photo-etched parts have become increasingly popular with model builders since the 1990s. The main advantage of brass photo-etching is realism. Plastic parts must be moulded and this process limits both the level of detail and the thinness of the parts. In other words, you just can't get highly detailed or properly scaled small plastic parts. However, brass can be flattened much thinner than plastic and with chemical or laser processes, it can be etched with incredible detail. Fortunately, the process of preparing, attaching and painting such parts is very similar to working with plastic materials.
- Brass photo-etched parts have become increasingly popular with model builders since the 1990s.
- However, brass can be flattened much thinner than plastic and with chemical or laser processes, it can be etched with incredible detail.
Clean the parts before cutting them off the frame by applying a small amount of lacquer paint thinner to a clean cotton cloth and pulling the cloth across the surface of the brass on both sides.
Prepare the photo-etched parts for primer by gently running them over very fine-grit sanding paper or sanding sticks. This will help both the primer and paint stick.
Cut parts away from the frame with a hobby knife and trim or file away any stubs or burrs left after cutting. It may be a good idea to keep very small parts on the frame while priming them.
Lightly place the parts on a strip of masking tape so that they will not fly away when spray primer is applied.
Apply metal primer from a can held at a distance of about 8 inches.
Position parts on the model with tweezers and adhere using cyanoacrylate glue, or "CA" glue, by putting a small amount of glue at the joining points with a toothpick.
- Prepare the photo-etched parts for primer by gently running them over very fine-grit sanding paper or sanding sticks.
- Position parts on the model with tweezers and adhere using cyanoacrylate glue, or "CA" glue, by putting a small amount of glue at the joining points with a toothpick.
Spray regular primer over your kit and paint as desired.
TIP
If parts must be bent for proper appearance or application, bend them before priming and painting to avoid chipping the paint. Chemical treatments can be used to prepare brass for priming. Acetone or vinegar can be used to prepare the surface as well. Some parts might be best painted completely before being applied to the model in the final stages. This will vary from kit to kit. It is very easy to lose small lightweight parts. Putting a solid-coloured towel beneath your working surface and on your work desk will help prevent parts from dropping and help you spot them if they do fall.