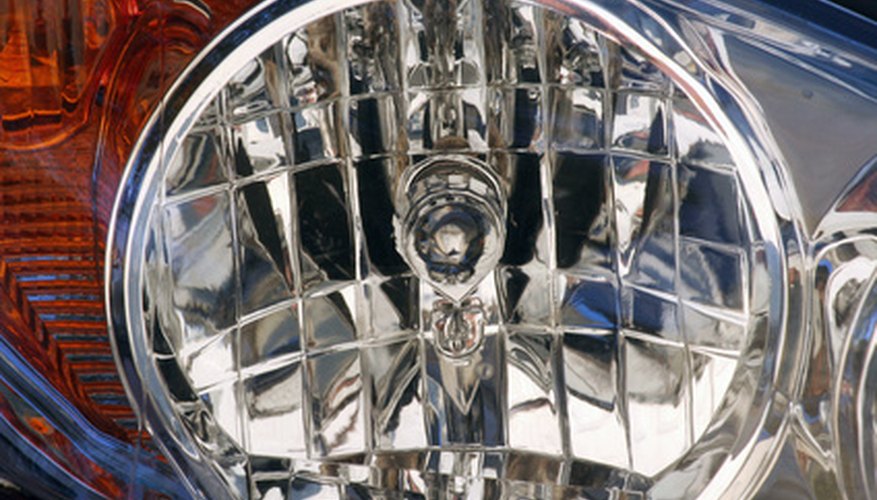
The Mini Cooper had its origins in Europe, but today enjoys a globe wide popularity. As the name implies this is a small compact vehicle, and like all smaller cars the importance of its safety systems is magnified. One of the often overlooked safety features of the Mini are its headlights. Not only do they aid the driver, but they also allow oncoming traffic to properly see the Mini. For headlights to function well they need to be regularly checked and aligned. Luckily this job can be accomplished with just a few measurements and a couple turns of a screwdriver.
- The Mini Cooper had its origins in Europe, but today enjoys a globe wide popularity.
- As the name implies this is a small compact vehicle, and like all smaller cars the importance of its safety systems is magnified.
Fill the Mini Cooper with a weight that approximates normal driving conditions. Think of what you would normally carry in the back seat, boot and floorboard. Have a partner sit in the driver's seat. Have the gas tank filled about halfway, or five gallons for the Mini.
Locate a large wall or door with about 30-feet of flat, level ground in front of it. Have your partner park the Mini Cooper about 1-foot in front of it.
Mark the wall with masking tape denoting the horizontal and vertical axis lines of each headlight. To do this start by placing a 6-foot strip starting at the centre point of the driver's side light bulb, extending across to the centre of the passenger's side light. Then take two 6-inch pieces of tape and place them vertically over the long strip in the direct centre of each light. this creates a small cross shape in front of each light.
- Locate a large wall or door with about 30-feet of flat, level ground in front of it.
- Mark the wall with masking tape denoting the horizontal and vertical axis lines of each headlight.
Put the Mini in reverse and back up about 25-feet. See how the light beams hit the taped wall. Both headlights should fall and inch or two below the long strip. The passenger's side light should hit the vertical strip directly while the driver's side should fall just to the right of it.
Look under the Mini's dash to locate the hood release latch and pull it. Go to the front of the car and open the bonnet fully. Behind each headlight look for the two adjustment screws. One on the top, centre will control the vertical axis and one on the side will control the horizontal. Use a screwdriver to turn each screw until the headlight beam hits the desired spot as described in "Step 4". Repeat for each headlight.