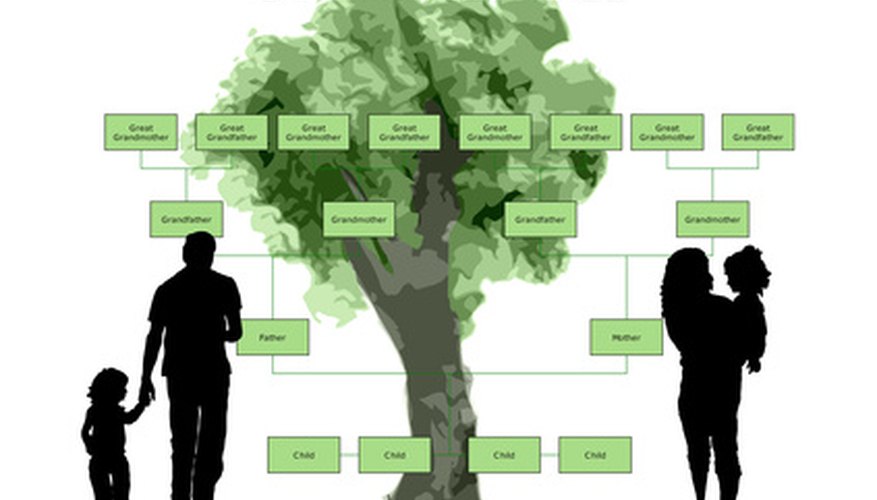
If you want to create a family tree, you can use Microsoft Word. By using Word, you can choose to download a family tree template or you can use the hierarchy function to create a family tree from scratch. After you download the template or create the hierarchy, you will only need to enter your family information to complete the tree.
Open Microsoft Word and click the Office button located at the top, left-hand corner of the screen.
Click "New" when the Office menu opens. The "New Document" dialogue box will open; you can create a new document or template here.
- If you want to create a family tree, you can use Microsoft Word.
- The "New Document" dialogue box will open; you can create a new document or template here.
Enter "family tree" or "genealogy" in the search bar at the top of the "New Document" box. A list of family tree templates will open.
Click a template to preview a larger version of it. After you find a family tree template you want to use, click the "Download" button. The template will open in a new Word document.
Delete the sample information from the family tree and type your family information.
Click the Office button and select "Save As" after you finish entering your family information. Enter a name for your family tree and click "Save."
- Click a template to preview a larger version of it.
- Click the Office button and select "Save As" after you finish entering your family information.
Open a new Word document and click the "Insert" tab located in the Word ribbon at the top of the page.
Look to the "Illustrations" section of the ribbon and click the "SmartArt" button. A dialogue box labelled "Create a SmartArt Graphic" will open.
Click the "Hierarchy" tab located in the left pane of the dialogue box and click one of the hierarchy types to insert. Any of the hierarchies will work for creating a family tree. Click "OK."
Add boxes to the hierarchy so you can add extra family members. To add a box, right-click over the hierarchy and select "Add shape." Select where you want to add the shape--before, after, left, right, below or above. Repeat this step to add additional boxes. If you need to delete a box, select the box and press "Delete."
- Look to the "Illustrations" section of the ribbon and click the "SmartArt" button.
- To add a box, right-click over the hierarchy and select "Add shape."
Enter the family names in the hierarchy. Highlight the sample text in the hierarchy and replace it with the name of a family member. Repeat this for each box until you have completed your family tree.