Gas powered RC aeroplanes are created with speed and maneuverability in mind. These aircraft are the fastest on the market and for advanced hobbyists provide a flying experience unachievable with electric powered aircraft or gliders. Using a gas powered aeroplane does have one major disadvantage over other aircraft types: the fuel used can damage the aircraft body, destroying the paint or covering unless the aircraft is fuel proofed. Fuel proofing an RC aeroplane requires that you make provision during the building process to keep the plane safe from any fuel leakage from the engine or the fuel tank. It can be done without greatly altering the building process by replacing a few covering products with fuel-proofed alternatives.
- Gas powered RC aeroplanes are created with speed and maneuverability in mind.
- Fuel proofing an RC aeroplane requires that you make provision during the building process to keep the plane safe from any fuel leakage from the engine or the fuel tank.
Determine the type of covering with which you'd like to skin your aeroplane. The covering type will determine the course of fuel proofing you should follow.
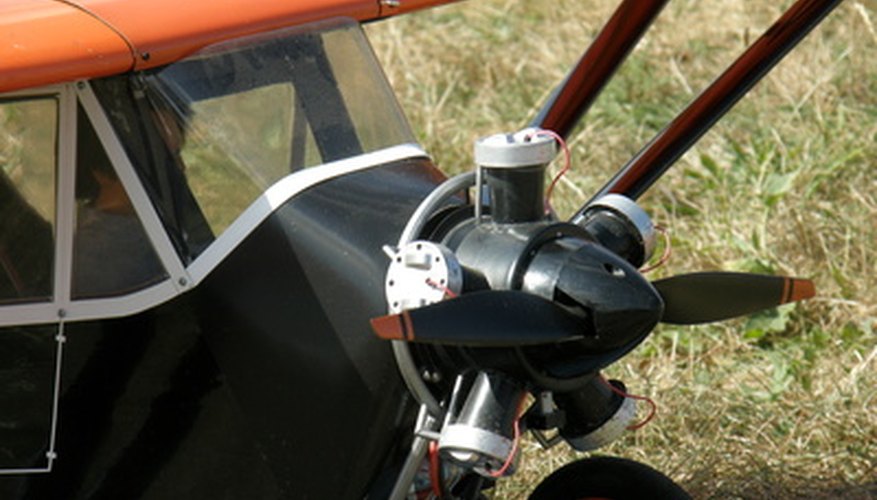
Coat the nose of your aeroplane with a thin coat of epoxy prior to mounting the engine to fuel proof the area of the aeroplane most affected by spills.
- Coat the nose of your aeroplane with a thin coat of epoxy prior to mounting the engine to fuel proof the area of the aeroplane most affected by spills.
Cover the body and wings of your aeroplane with a designated fuel-proof plastic covering material, like Monokote or Ultracoat, found at most shops that sell RC aeroplane parts and supplies. Iron the covering onto the entire surface of the aeroplane following the manufacturer's instructions to give your aeroplane proof against the glow-fuel used for the engine.
Fuel-proof solid bodied aeroplanes that don't use a plastic covering, or those with fabric paper or fibreglass coverings with a fuel-proof paint. Spray the body of the aeroplane with the paint, building up a thin coat to cover the surface of the aeroplane by applying thin layers of the paint. Allow the coat of paint to dry for 2 to 4 hours and then cover it with a coat of fuel-proof clear coat to seal the colour and protect the painted finish from damage. Allow this clear-coat to dry overnight before using the aeroplane.
TIP
Test any paints used on foam aeroplane parts on a scrap piece of foam first to be certain the paint does not eat through the foam material.