If a pair of trousers no longer fits properly, it can be let out if there is a sufficient seam allowance.
If not, adding gussets can salvage the trousers; removing a waistband and adding a soft band and grosgrain tie at the waist works too. This task is especially suited to children's clothing.
Measure the waist, hip and thighs of the existing pair of trousers. Measure your own waist, hip and thighs to determine where to add room.
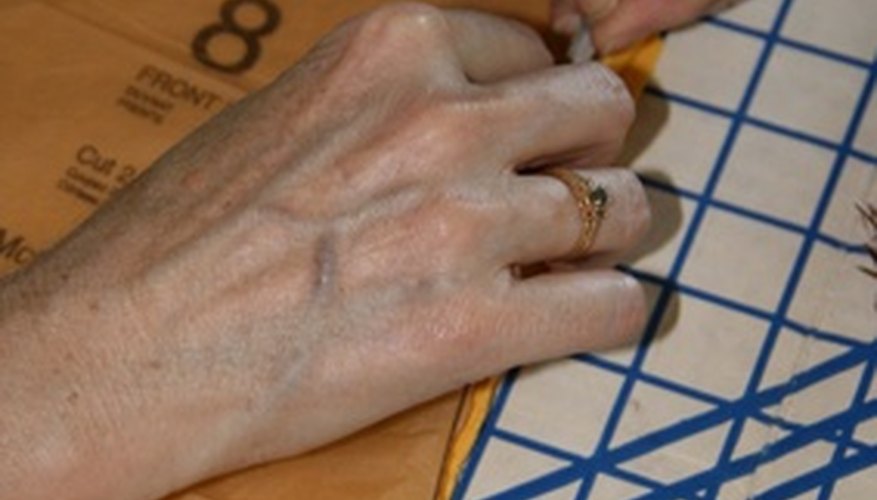
If the waistband is tight, there may be an extra 5 cm (2 inch) seam allowance at the back of structured trousers. Carefully remove any belt loops with a seam ripper. Remove the waistband and check to see if it also has an extra seam allowance. Open both the back seam of the waistband and the back seam of the trousers. Mark the new seam lines with dressmaker's chalk and seam accordingly. Reattach the waistband and steam the new seam line.
- If a pair of trousers no longer fits properly, it can be let out if there is a sufficient seam allowance.
- Remove the waistband and check to see if it also has an extra seam allowance.
If there is no extra seam allowance at the waist, purchase similar material to add 2.5 to 5 cm (1 to 2 inches) ]at the side seams. Remove the waistband; open the band at the side seams and add a 3.8 cn (1 1/2 inch) rectangle of material on each side seam. This takes care of only the waist, but if the trousers are still tight in the hip, you may undo darts for a little bit of ease.
- If there is no extra seam allowance at the waist, purchase similar material to add 2.5 to 5 cm (1 to 2 inches) ]at the side seams.
Gussets are inserted to alleviate tight hips. When added to the hip, it will be 1.3 cm (1/2 inch) wider and longer than the amount you need to add as an enlargement. Cut a triangle of material that will fulfil your width, plus an extra 1.3 cm (1/2 inch) wide at the top for ease. This gusset tapers to a point at the bottom of the enlargement. Pin the gusset to the side of the hip along the seam to the point where the gusset blends into the existing seam. Stitch. Repeat on the other side seam. Replace the enlarged waistband and stitch shut.
An alternative way to enlarge a waistband is to remove the existing waistband. Save a 7.5 cm (3 inch) section on each side where the button and buttonhole exist. Replace the rest of the waistband with ribbed material cut the width of the existing waistband. Insert an eyelet grommet on the front 1.3 cm (1/2 inch) in from the side of the button and buttonhole sections.
Open the existing button and buttonhole bottom seams. Pin the ribbed material to the waistband and stitch. Repeat on the other side. Fold the waistband in half, wrong sides together. Stitch the waistband back onto the trousers with a zigzag stitch and trim. Cut a length of grosgrain ribbon the measure of your waist plus 20 cm (8 inches). Feed the end through one eyelet grommet, pass it through the soft band and out through the other eyelet grommet. Tie the grosgrain ribbon at the waist over the button and buttonhole.
- An alternative way to enlarge a waistband is to remove the existing waistband.
- Stitch the waistband back onto the trousers with a zigzag stitch and trim.
Adding a strip of material down each side seam may increase the width of the legs. Follow directions to enlarge the waist. Open the side seams all the way down each leg and add 2.5 to 5 cm (1 to 2 inches) of coordinating material. Stitch the seams shut and repeat on the other side. Reattach the enlarged waistband. Hem the bottom of each cuff.
TIP
Suit trousers may have been purchased with a matching waistcoat. This is the best source of matching material. If you don't like adding a grosgrain drawstring, cut an elastic band the width of your waist, less the extended tabs from the button and buttonhole. Insert and stitch in place to hold the waistband firmly in place.